“Necessity is the mother of invention.”
English Proverb
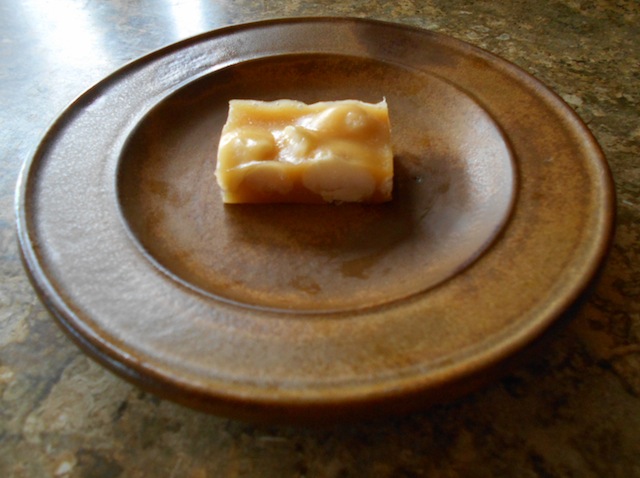
Sunflower Cups do taste kind of like Reese’s Peanut Butter Cups, but healthier!
This recipe is NOT safe for someone on the Specific Carbohydrate Diet or GAPS.
I was trying to make some Dr Axe’s Salted Paleo Sunbutter Cups. Yes, I’ve made some changes to the original recipe. I did have a few problems. I didn’t have any waxed muffin liners or even a muffin tin. I did have some wax paper and some masking tape, so I made up my own wax liners by wrapping the wax paper around a metal tea strainer. I then used the masking tape to hold the shape. My DIY waxed muffin liners worked great!
Sunflower Cups
Filling
1 1/4c organic sunflower seeds, ground
6-8 organic dates, pitted and soaked
1-3T organic coconut oil
1T homemade vanilla extract
1tsp sea salt
Chocolate Topping
1 70-80% organic chocolate bar, melted
1T organic coconut oil
Make some wax paper liners by cutting the wax paper into squares. Fold the wax paper squares around some household item that’s a suitable size and shape. Tape the wax paper to keep the shape and put the liners into a glass tray.
Bring some water to a boil. Place the dates in a small bowl and pour just enough boiling water to cover the dates. Cover the bowl and let cool. Pitt the dates. In a food processor, grind the sunflower seeds to a fine texture. Add the soaked dates, coconut oil, vanilla extract and sea salt. The dough should be firm enough to roll into balls. If not, add some more ground sunflower seeds. Work all the dough into balls. Flatten each ball so it just fits into the wax paper liners.
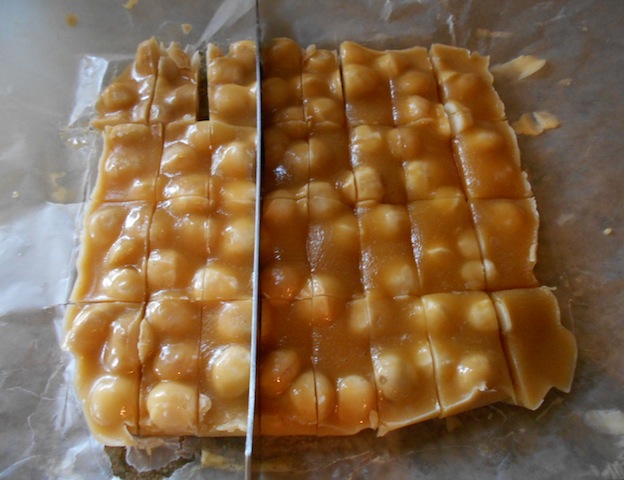
Put the chocolate into a Pyrex measuring cup and place the cup into a sauce pan with water. Bring the water to a boil and simmer until the chocolate is just melted. Pour the melted chocolate over each flattened dough ball. Cool the tray in the freezer until the Sunflower Cups have hardened.
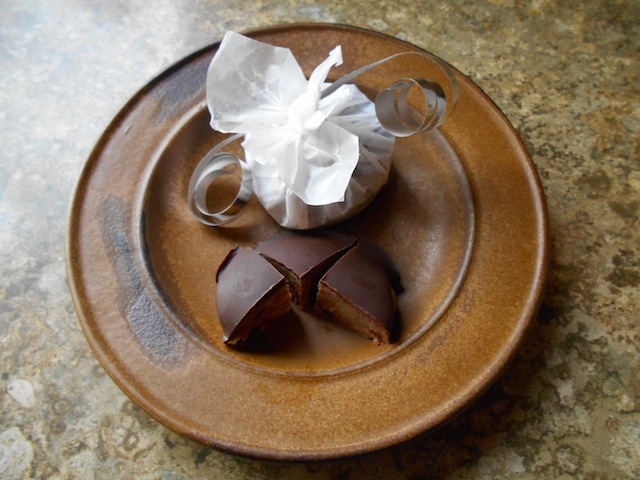
Twist each liner a number of times like a candy wrapper and tie with a piece of ribbon or string. Sunflower Cups make nice gifts! They do taste kind of like Reese’s Peanut Butter Cups, but healthier!
One last tip. Save your Sunflower Cups’ candy wrappers if you are going camping. The wax paper makes excellent fire starter. It burns like a bugger!
Collect needed supplies: wax paper, scissors, tape and a kitchen item with the right size and shape.
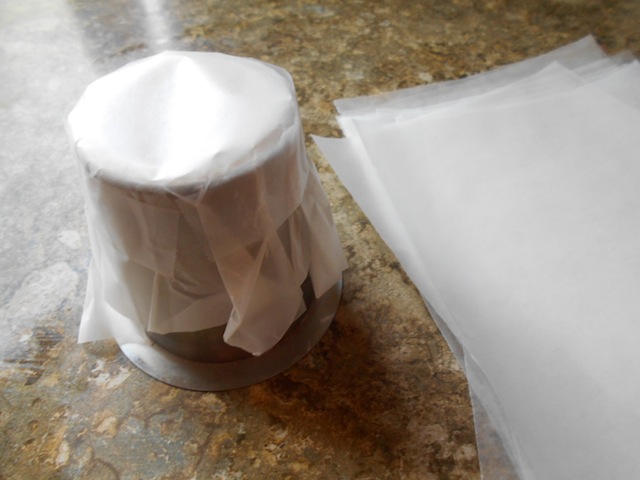
Fold the wax paper squares around some household item that’s a suitable size and shape.
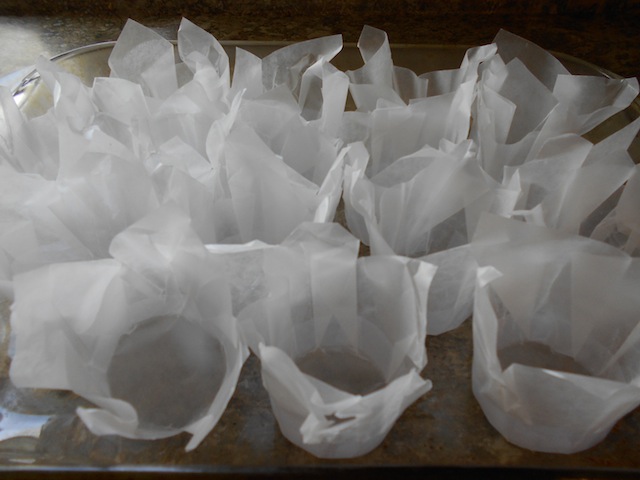
Tape the wax paper to keep the shape and put the liners into a glass tray.
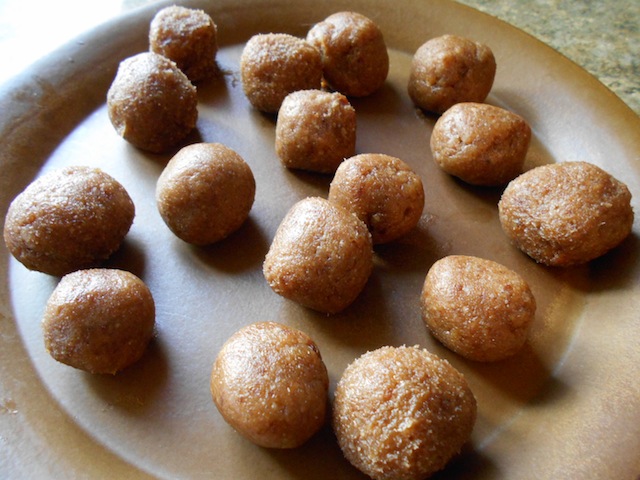
The dough should be firm enough to roll into balls.
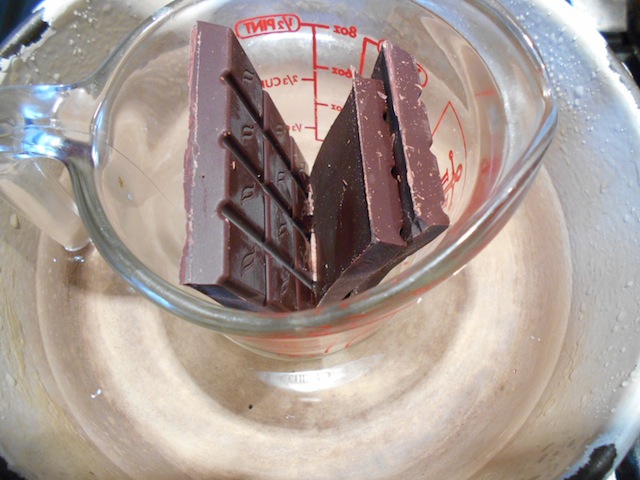
Melt the chocolate in a Pyrex cup in some simmering water.
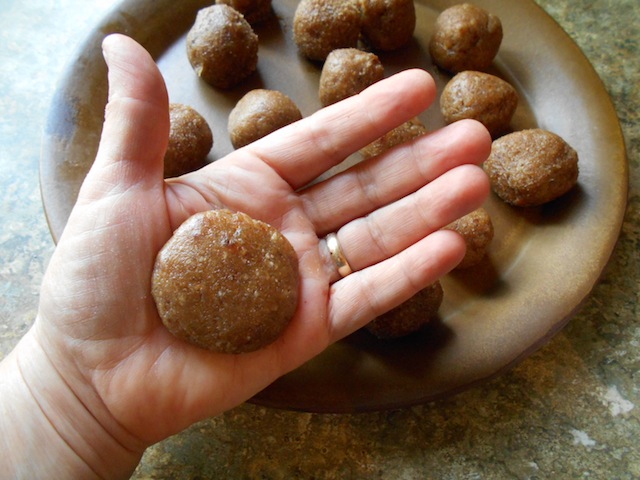
Flatten each ball so it just fits into the wax paper liners.
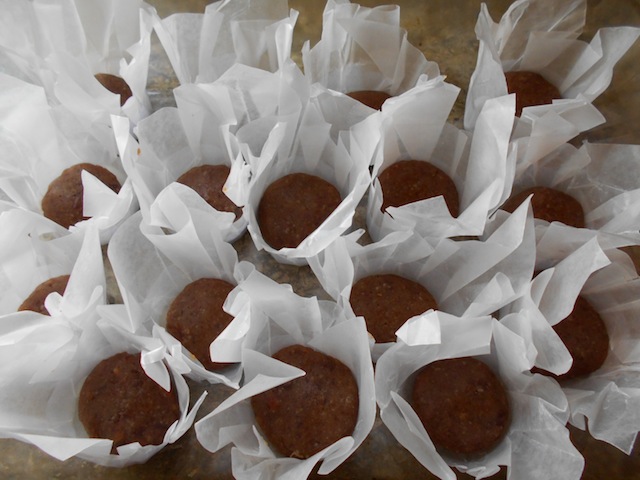
Place each flatten ball into the liner. If the dough is too big, just re-roll and try again.
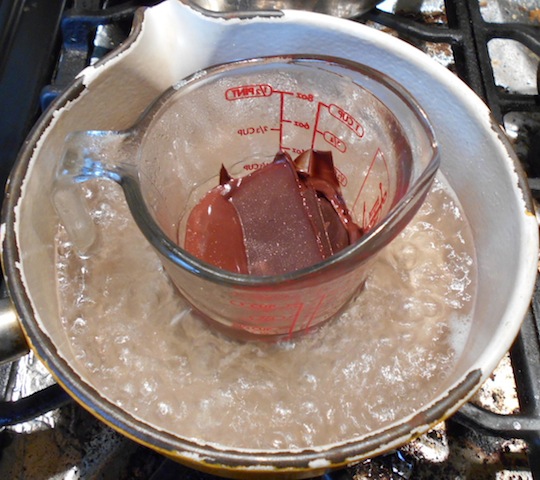
Just melt the chocolate. Don’t overdo it.
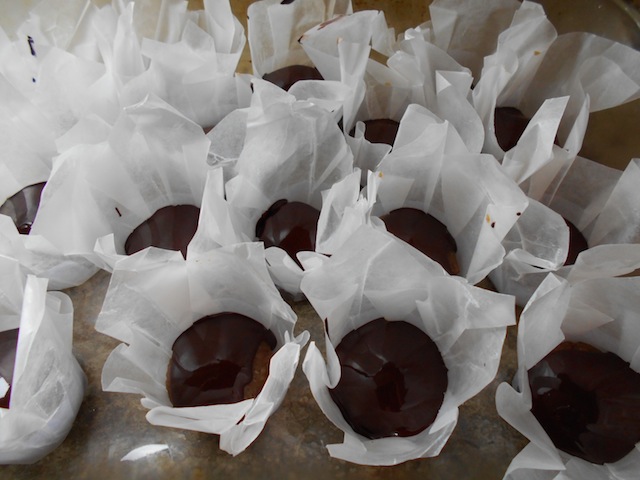
Pour the melted chocolate over the flattened dough balls. Put the tray into the freezer to cool completely before wrapping.
Sunflower Cups are a nice, healthy gift you will feel good about giving!