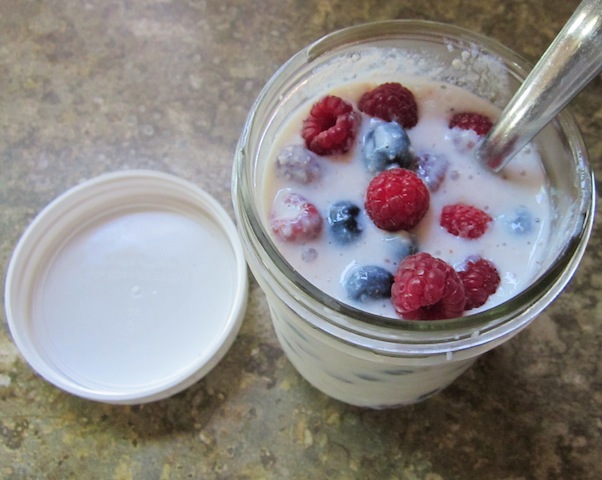
Here is some homemade Kefir with seasonal blueberries and raspberries.
Kefir originated in the Caucasus Mountains and is a gelatinous community of bacteria and yeast. I have come to prefer Kefir over yoghurt for a number of reasons:
- Kefir has a more diverse selection of bacteria and yeast than yoghurt.
- Kefir ferments at room temperature.
- Kefir grains continue to grow indefinitely as long as the culture is fed.
- Kefir grains can be frozen and unthawed for later use.
- Kefir grains can be eaten as a inexpensive probiotic.
I give away Kefir grains to anyone who wants them. For other cultures I give away, please see I got culture! Over the years, I have had a number of people ask for detailed instructions on how to take the frozen Kefir grains I give them and bring them back into production.
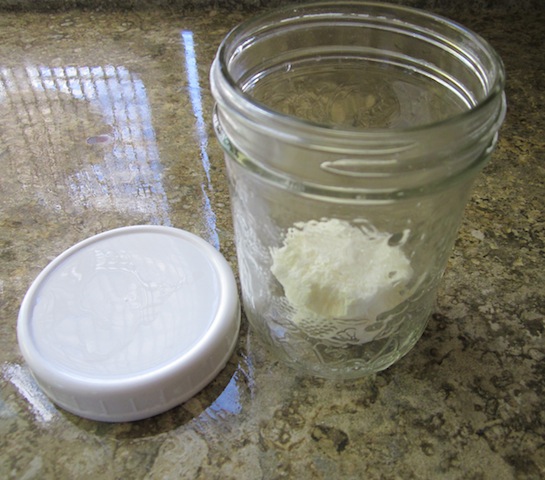
Take the frozen Kefir grains and put them into a pint mason jar.
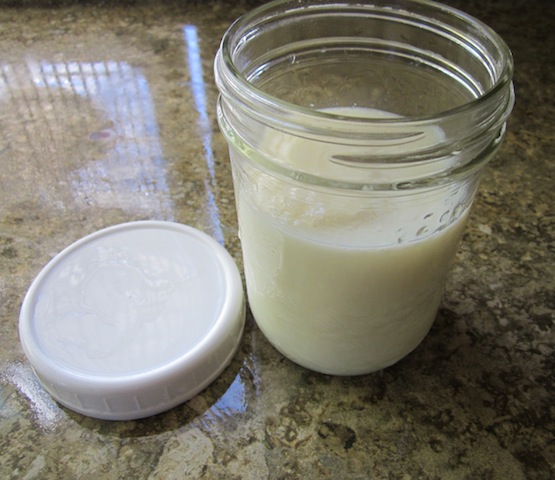
Add about 1c milk to the culture, half filling the mason jar. Cover and leave the jar in a warm place in your kitchen for 24 hours. DO NOT shake the jar during fermentation.
1. Take the cube of frozen Kefir grains and put it into a pint mason jar.
2. Add about 1c raw or pasteurized whole milk which will half fill the mason jar. Close the jar and place the jar in a warm place in your kitchen for 24 hours. Do not shake the jar or you will lose your culture.
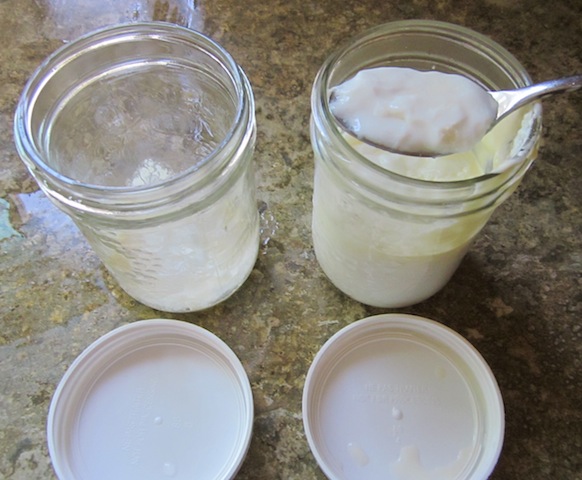
3. Get a second pint mason jar and carefully remove the top cream and the eating Kefir. The eating Kefir has a “gel-like” consistency. Refrigerate and enjoy the Kefir by itself or with add berries.
4. At the bottom of the fermenting jar will be the Kefir grains. The best way to describe the Kefir grains are they are “grainy” and not “gel-like”.
5. Add about 2c raw or pasteurized milk to the pint mason jar filling it. This is the one time shaking the jar is okay to mix the culture with the new milk. At no other time can you shake the jar or you will lose your culture. Wait another 24 hours before repeating the process. The Kefir grains double with each day of fermentation.
6. After about three or four days of fermenting, you have enough Kefir grains at the bottom of the fermenting jar to remove some grains and freeze for later use. These extra grains can also be eaten as a low-cost probiotic too.
Carefully remove the eating Kefir from the top of the jar. The eating Kefir is “gel-like”.
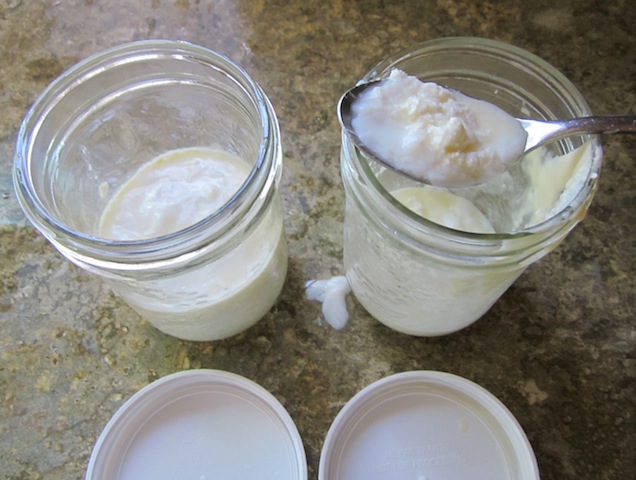
Usually, at the bottom of the jar you will find the Kefir grains. The Kefir grains look “grainy”.
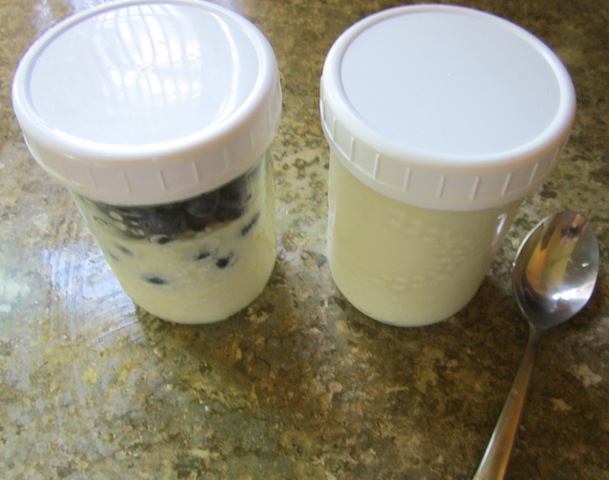
Leave the Kefir grains in the right jar, filled with whole milk. Leave the culture to ferment on the kitchen counter. In the left jar, I have added berries to the eating Kefir.
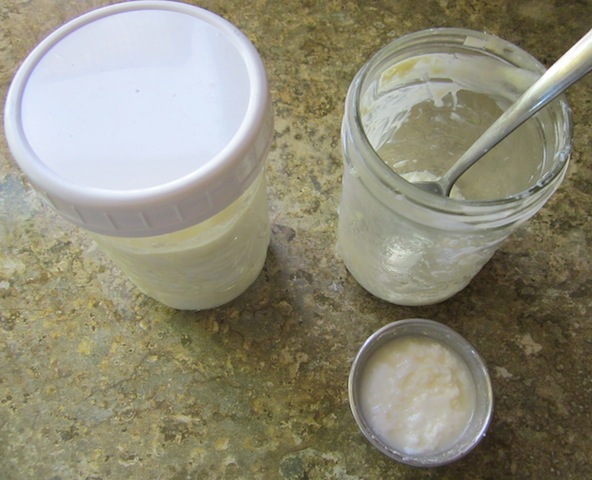
After three or four days, freeze some of the Kefir grains in case something happens to your culture.