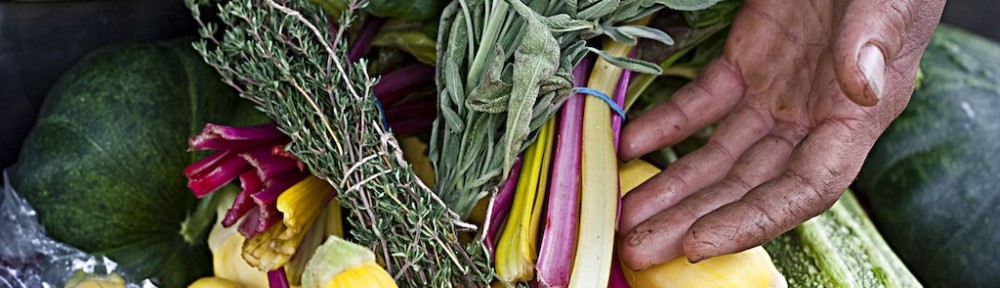
October is the last month of operation for the Kamloops Farmer's Market. At this time of year, there is a bounty of produce. If you are going to make fermented foods you need all your ingredients to be organic or not sprayed. Sprayed vegetables will kill the fermentation process.
Before canning, people fermented to preserve food. Fermenting foods can store the harvest bounty for later consumption during the winter months. Fermentation also increases the nutrient content of the base food. Fermented foods are alive and full of probiotics that can help improve our gut health and immune function. This is especially important during the cold winter months.
Traditional fermentation requires a crock, or you can always make smaller amounts using a glass mason jar or a Pickl-It. Here is a recipe for a making kimchi, our family’s favorite fermented vegetable. Below is a photo essay on how to make larger amounts of kimchi using two types of traditional fermentation crocks.

Over the summer my crocks sit empty, waiting for the harvest bounty. I have five crocks of different sizes. I can produce about 55L of fermented foods. I have three standard crocks like the ones in the middle. The two dark colored crocks are Harsch Gairtopf crocks.
The most difficult part about making large qualities of fermented foods is finding a container big enough to mix all the ingredients. I have four pails for chopped cabbage and one pail for all the spicy vegetables. As I load up the pressing crock, I mix about four parts chopped cabbage to one part spicy vegetables. As I am filling the pressing crock, I add the sea salt to each load of cabbage and spicy vegetables. I fill the crock up to the top and press the vegetables down until the liquid comes out. Normally, the crock will be half full after pressing. I will refill the crock to the top and do a second press before transferring the pressed kimchi and liquid to the smaller crocks. It is best to press, not pound, the kimchi. If I get tired I just take a break and the sea salt will do most of the work for me.

I mix four parts chopped cabbage and one part spicy vegetables in my largest crock and do all my pressing in that crock. I add the sea salt to each load of chopped cabbage and spicy vegetables. I find it easier to press the kimchi after laying whole cabbage leaves on top.

After the kimchi is compressed, the liquid will come out of the vegetables. At this point I transfer the kimchi into two smaller crocks and compress the kimchi again. I am always surprised how much produce goes into each crock.

This is what the kimchi looks like just before I put whole cabbage leaves on the top. The leaves help keep the small pieces of kimchi from floating to the surface. Anything on the surface will rot.

On top of the cabbage leaves go the "stones" which weigh down the kimchi. Anything that is floating on the surface must be removed to avoid rot. I will remove all these pieces and carefully clean the top of the crock before closing up the crock.
After all the floating pieces are removed, I put the lid on the crock and pour water around the lid to air-lock the crock. It is important to remember to add more water as it is lost to evaporation. I made 30L of kimchi in three crocks from about 80 pounds of cabbage and 20 pounds of assorted spicy vegetables. This might seem like a lot of kimchi for a family of four, but I try to encourage my family to eat a small amount of kimchi with each meal to improve digestion.

This is a Harsch Gairtopf crock after four days of fermentation. Note, the airy bubbles on top. It is a good idea to label your crocks with a start date. After about 7-14 days I will move the crocks from my warm kitchen to a cool place for the winter. This will slow down the fermentation process.

Here is a standard crock with a glass plate and two granite stones to weigh down the kimchi. The ceramic lid broke on this crock so Shaen made me a wooden lid.