GO BOX Gardening Project’s 10th Anniversary!

This year is the 10th anniversary of the GO BOX Gardening Project! (Yes, we’ve changed our name.) We have learned a lot over the last decade. Some insights have been very surprising and go against permaculture’s current wisdom. I would like to share some of these insights for your consideration.

permaculture-1

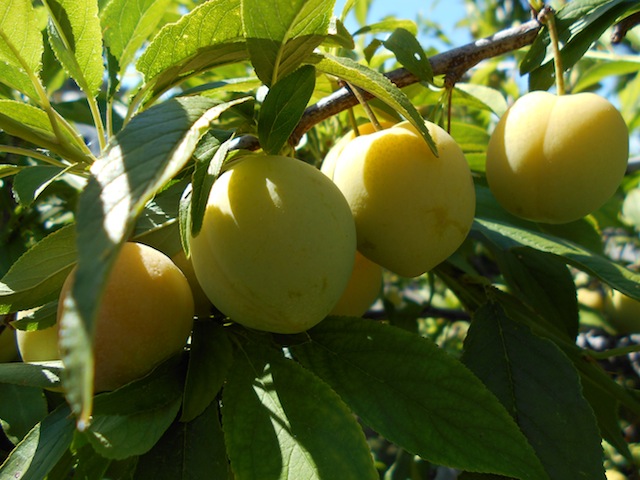
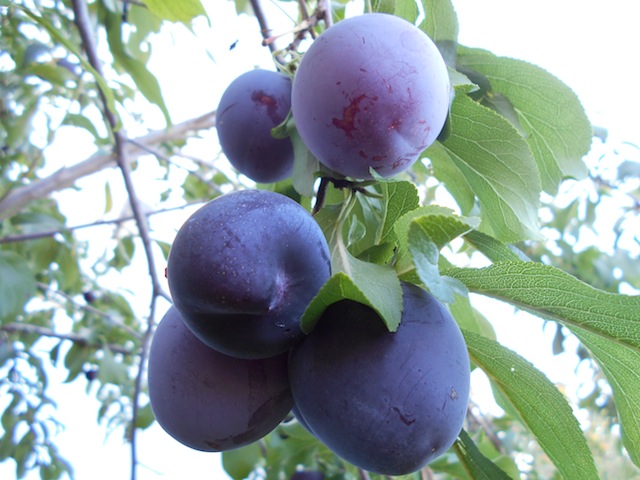
It’s harvest time for the stone fruits at the GO BOX Gardening Project! These plums will soon be ready for eating. MMMmmm!

permaculture-2

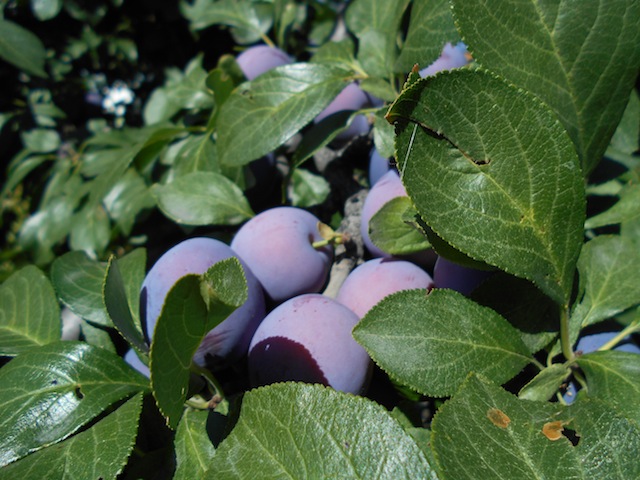
These dark plums are fantastic dried. They will be ready for harvest in a few weeks.

So how much does a permaculture garden or forest garden cost? Not as much as you might think. The GO BOX Gardening Project had an initial cost of under $1000 for the base trees and shrubs. We also had to get a formal landscaping plan and have a consultation with a local arborist, which costed more than the plants. However, most people wouldn’t have to contend with this cost. In the spring of each year we spend about $100 on bedding plants and seeds for annuals. This cost does not include any livestock or feed which adds to the cost of a permaculture garden but greatly increases the nutrient density of the food output. So, over the ten years of operation, the plant portion of the permaculture garden has cost us a total of $2000 not including the tribute to the bureaucrats.

permaculture-3

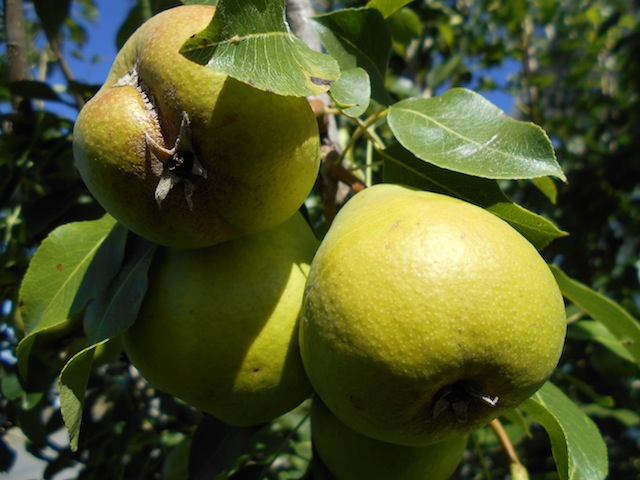
This pear tree is an example of a tree that is unhappy where we placed it. Even though it doesn’t provide good fruit, the tree provides shade and privacy for the house, two very welcome services.

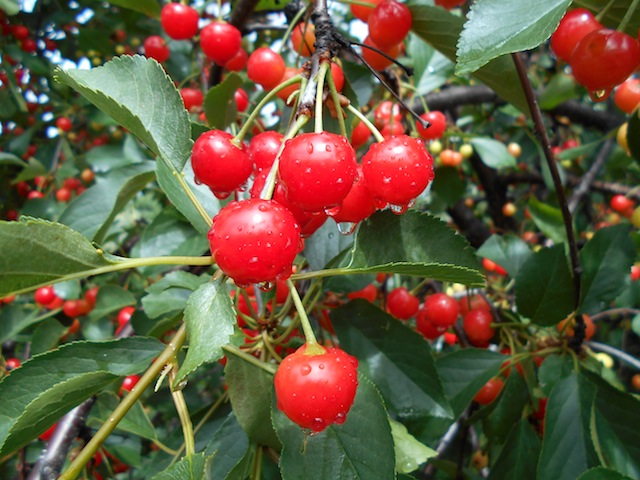
During the first five years, the permaculture garden produced little. Since then, the permaculture garden has produced a bounty of fresh food far beyond the use of our household. Every year now we over produce raspberries, cherries, plums and apples. We even have a FREE u-pick for the community to help utilize this bounty. During migration, the birds stop and refuel at the garden too.

gobox-free-upick-2016-1

The GO BOX Gardening Project has been doing a FREE u-pick for a number of years now. It’s becoming a yearly tradition!

gobox-free-upick-2016-3

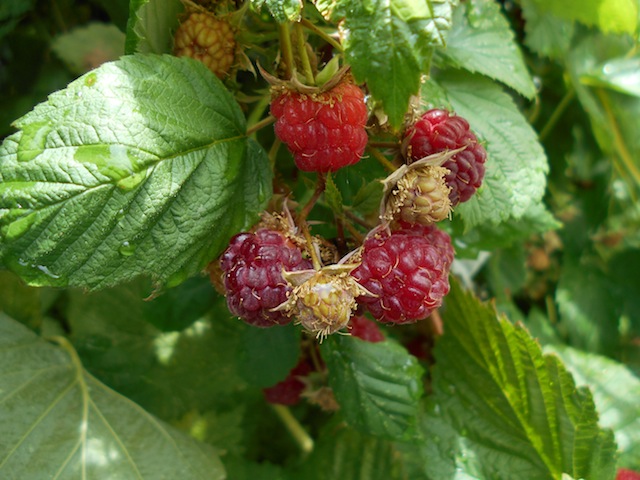
Raspberries are a favorite for the FREE u-pickers. We have LOTS every year. It’s our best harvest.

gobox-free-upick-2016-2

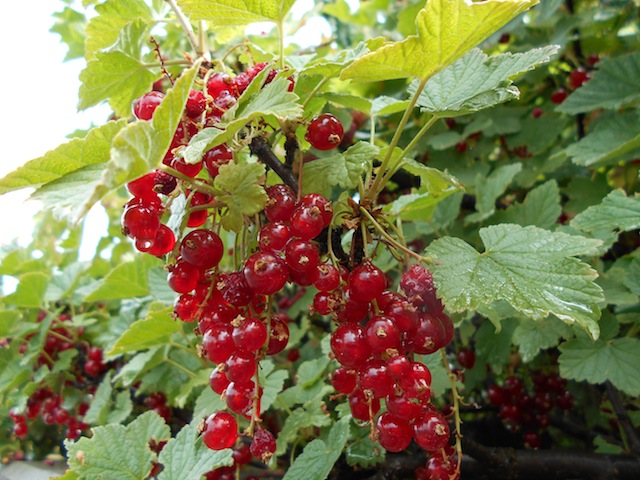
The red currents are a favorite for the jam makers at the FREE u-pick.

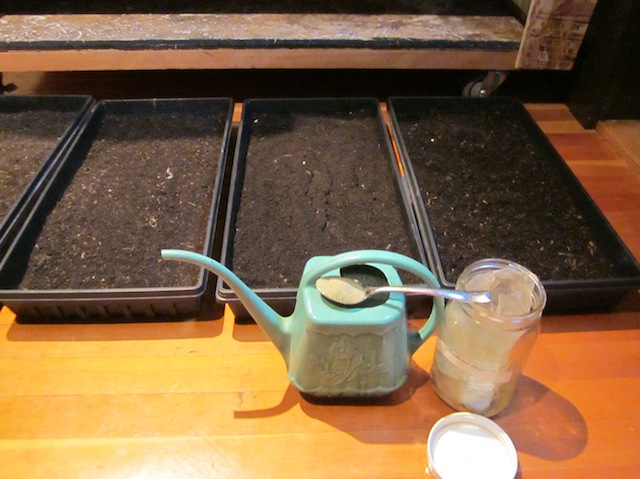
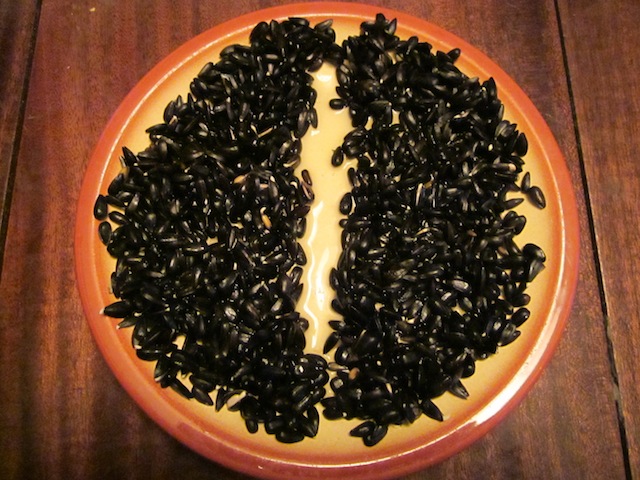
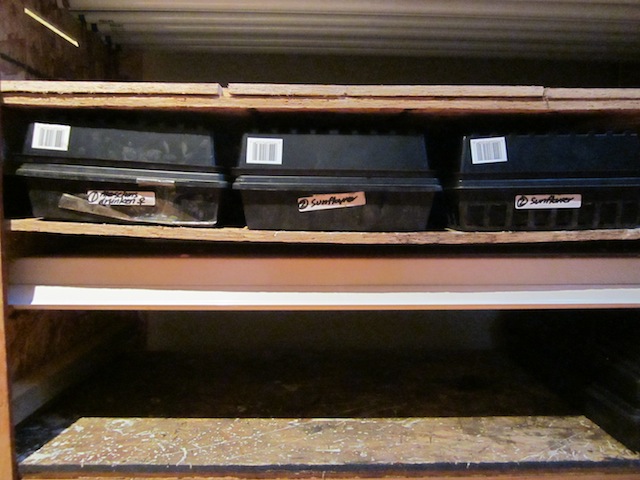
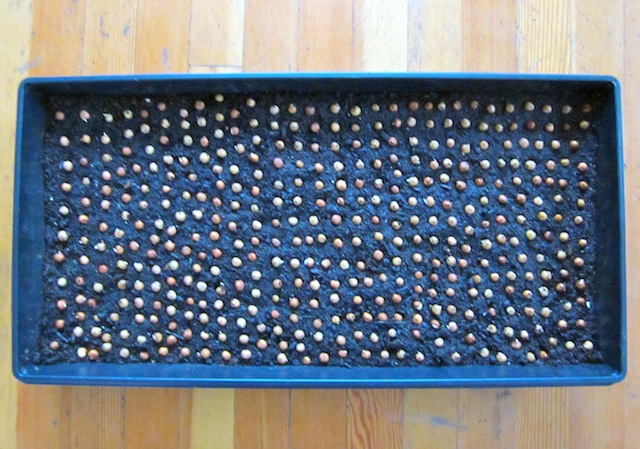
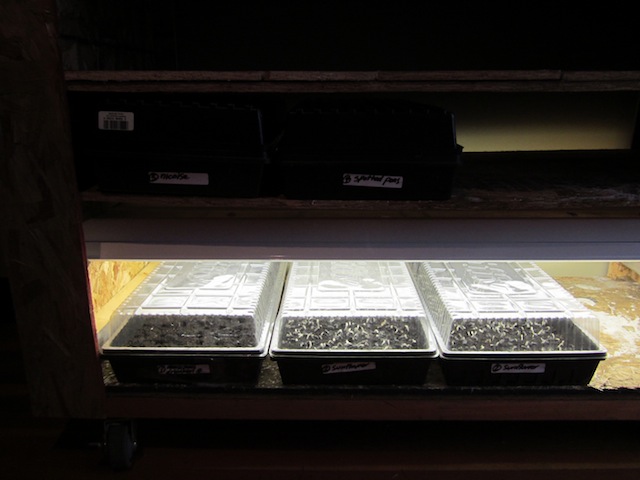
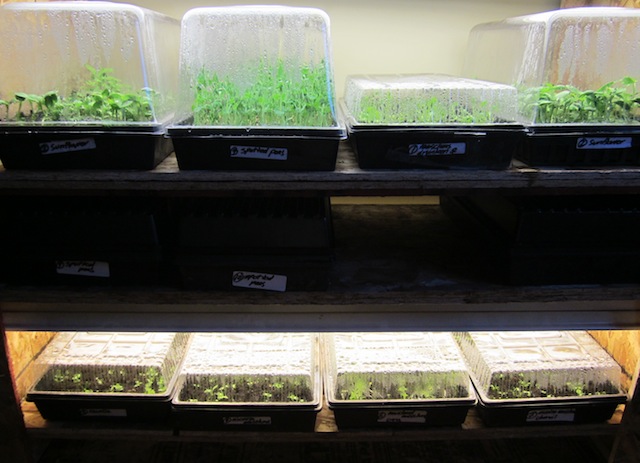
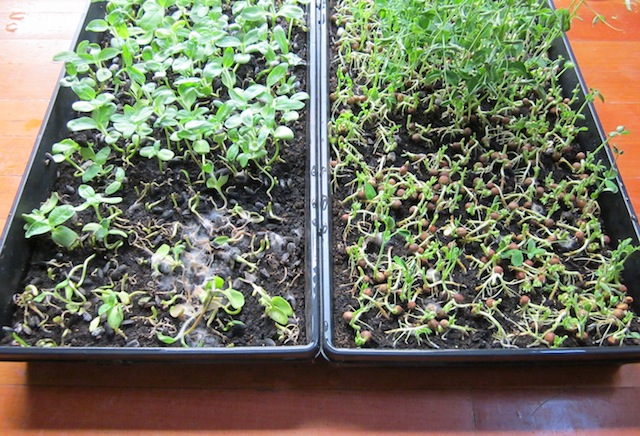
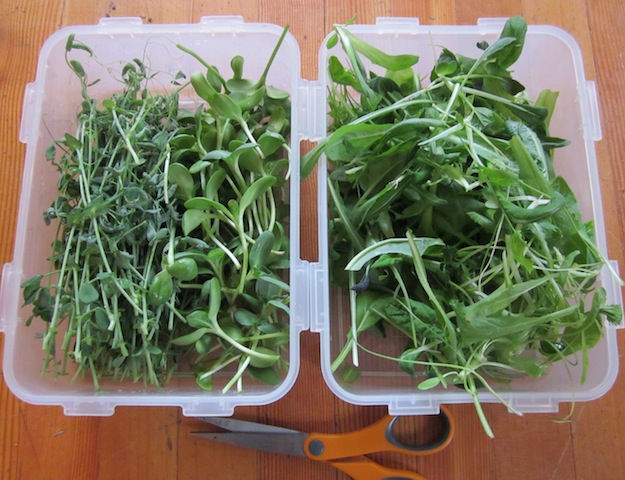
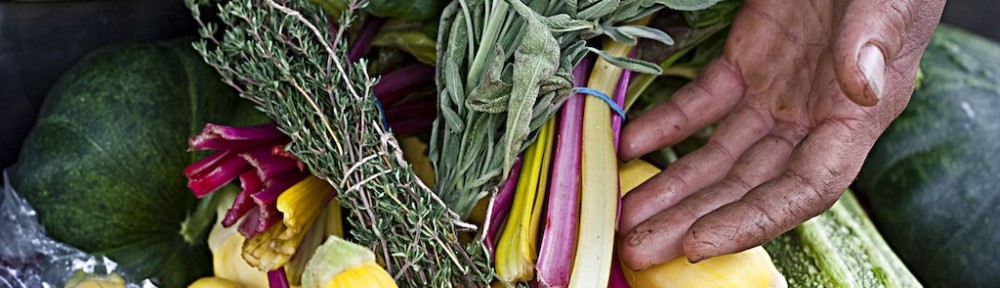
The annual garden and hoop houses produce an excessive amount of lettuce, kale, herbs, Chinese greens, cucumbers, tomatoes and numerous summer and winter squashes. We also use an indoor growing unit for winter microgreens, sprouts and for starting bedding plants. With a permaculture garden you can forget about the 100 mile diet and eat the 100 meter or 100 foot diet!

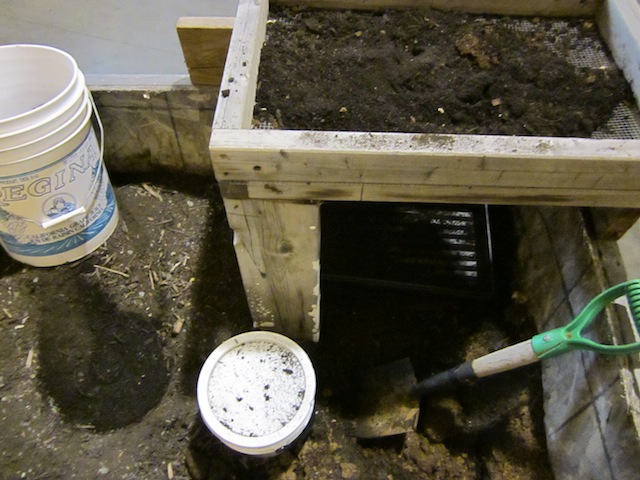
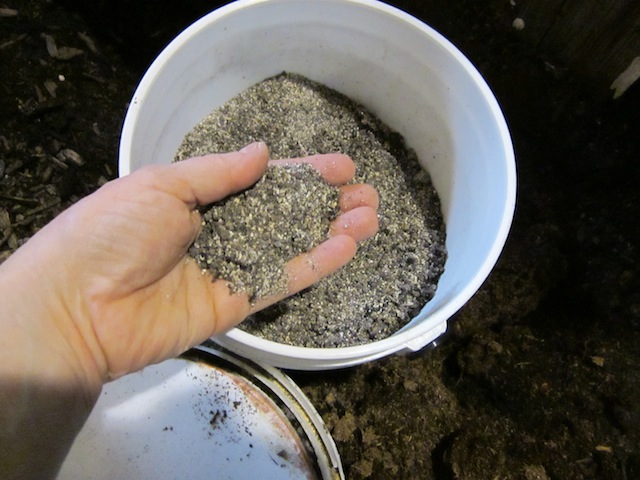
Even though we started with a formal plan with professional advice the permaculture garden just evolved over time through trial and error… mostly through error. Many of the original plants died that first year. We had to rethink the whole concept. The land could only grow what the land could grow. So we brought in organic material from wherever we could find it. We used chickens over this organic material for a number of years to increase the soil fertility. For three years we just built soil before anything would really grow. Building soil was a lot of work!

Then things really started to happen. The sickly trees and shrubs came alive and started to thrive. We learned to spend even less money on plants by doing our own propagation and allowing volunteer trees to grow wherever they happened to sprout. We realized we weren’t the planners of this garden. We’re just the human help! The garden grew itself once we realized that we were really soil life farmers, not permaculturalists! The garden taught us not the other way around!

permaculture-4

A few years ago, we planted a number of standard fruit trees which have done extremely well compared to the original dwarf stock fruit trees.

permaculture-5

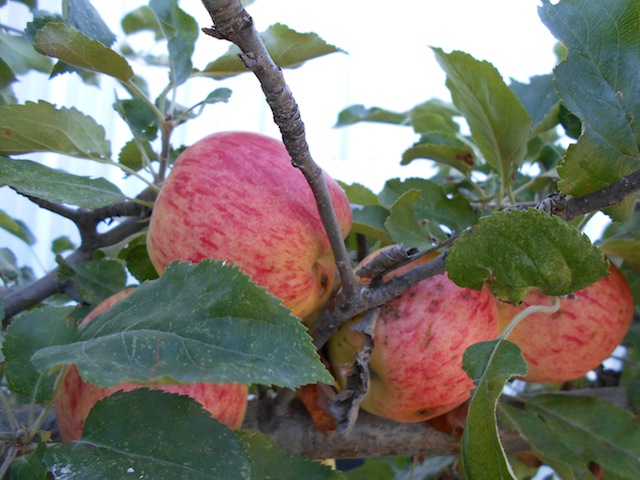
Our dwarf apples trees haven’t done well due to pest problems. Yes, we could do something about that but we are experimenting Mark Shepard’s STUN method!

“STUN stands for: steer, total, utter neglect. Of all the different ways to care for a plant, STUN is the simplest. Since nothing is done to the plant, around the plant, or applied to the soil, it is also the least expensive method of plant care.”
Restoration Agriculture: Real World Permaculture for Farmers by Mark Shapard

So, a permaculture garden doesn’t need to cost much. You can start a permaculture garden for a few hundred dollars and some sweat equity. Our garden has been a really great experience and has saved our household an uncountable amount of money that we would have otherwise spent on seasonal, organic foods. My only regret is that I didn’t plant more nut trees and less fruit trees as suggested by permaculture radical, Mark Shepard. The biggest surprise was learning to let go of the planning process and let the garden take the lead. The garden became our teacher. All that was required from us was to be good students and humbly listen to it.

“Aside from the obvious cost and labor savings when you don’t hand weed, hoe, cultivate or mow around trees, one of the most significant benefits of using STUN is the discovery of superior genetics. Think about it. If you plant 100 trees and ignore them, the only ones that survive did so because they had some sort of competitive advantage.”

Attached is the original landscaping plan drawn up for the city in 2006. The actual garden evolved to look nothing like the plan. We gave up on the recommended xeriscaping when we discovered that when this policy is properly implemented the results are a heating up of the ground which kills soil microflora and increases the ambient air temperature in an already hot city. In our opinion, xeriscaping is not a good policy for a hot city that has basically unlimited access to river water and is not experiencing a drought or likely to experience a drought in the near future. Also, xeriscaping requires weeding to look good which means increased herbicide use (bad) or expensive human labor (bad).

I NEVER thought I would say this, but a mowed grass lawn is starting to look like a much better option to me… and I can eat the dandelions!

gobox-landscaping-2006

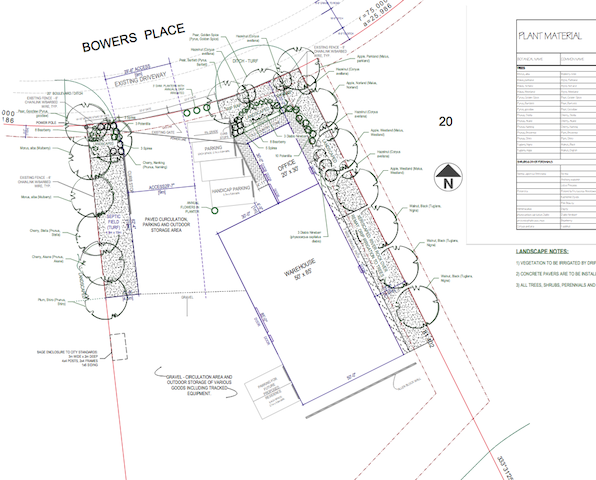
This is the original landscaping plan drawn up for the city in 2006. The actual garden evolved to look nothing like the plan. If you’re interested, come for a visit someday!

“It is interesting that all the literature you can read and all the workshops you can attend are all telling you what to do, rather than not do. In addition, they only address two fundamental questions: “How do I keep this thing alive that wants to die? and “How do I kill this thing that wants to live?” This is entirely backwards! If some trees of mine want to die, I say, “Good riddance!” I don’t have the time and I’m not interested in spending the money on inputs to keep it on life support. I’m interested in discovering the genetics that are precocious, pest and disease resistant, and thrive in a regime of STUN.”

Indoor Growing Unit: Photo Essay

homegrown-greens

Sprouts are ready within a week. Sunflower and pea sprouts are ready within two weeks and microgreens take three weeks. Homegrown greens are a great way to save money.

Last year when the price of organic greens continued to climb, we decided to start growing our own indoor greens. This project was so successful that we wanted to do it again this year but we had some design problems with last year’s growing unit. While I organized my seed collection for sprouting and microgreens, my husband rebuilt the growing unit with the sprouting area above the ballasts to make use of the waste heat.

The goal this year is to produce enough sprouts and microgreens to satisfy our household. In our household, that’s about four large salads each day. Any waste production goes to the chickens or can be composted. We will still be getting organic root vegetables from the root cellar and local farmers. Exotic items from Nature’s Fare are still on the menu but growing greens at home really does save money and adds to our household food security.

grow-unit-1a

The first step is to get the sprouting system going. The mason jar on the left is for sprouting sunflower seeds and peas. These seeds need to be soaked and rinsed for 2-3 days until they sprout. Then the seeds will be planted into trays and go into the growing unit.

On day one, I start the sprouting system. On the right, is the standard layered sprouting unit. I fill the unit with alfalfa seeds and my homemade sprouting mix. The sprouting mix has: 1 part organic broccoli seeds, 1 part organic fenugreek seeds (optional), 1 part organic radish seeds and 3 parts organic French green lentils. In the center, is a unit for making pressure method mung beans. These sprouts will be eaten fresh in a salad or stir-fry.

On the left, is a mason jar with a screen-top for rinsing the seeds. These seeds will be used in the growing unit. After experimenting, I prefer sprouting sunflowers seeds and peas. These seeds need to be soaked and then rinsed for 2-3 days before planting. I wait until I can see the radicle (tiny sprout) before planting in the tray. Sprouting before planting avoids wasting time planting nonviable seeds.

grow-unit-1

Day one is also for getting the trays ready for planting. This is the soil preparation box. It’s better to keep the soil indoors to avoid freezing.

The soil preparation box is filled with garden soil and compost. I add a small amount of peat to the mix before sifting the soil into the trays. You could miss this whole step if you decide to buy potting mix but buying soil is more expensive.

grow-unit-2

This is my homemade organic fertilizer. The recipe is: 1 part blood meal, 1 part bone meal and 1 part lime. This fertilizer is not needed if you have rich soil, compost or worm casings.

grow-unit-3

I half fill the trays with soil when I’m planning to grow sunflowers or peas. Microgreens take longer to grow so I add a bit more soil and some homemade organic fertilizer, if needed.

If I do add homemade organic fertilizer, I add it to some of the soil at the bottom of the flat and put more soil on top. This avoids burning the young plants. Don’t add fertilizer if you have access to rich soil, compost or worm casings.

grow-unit-4

I let the soil warm up in the house overnight before planting. I water each tray very well. I try to water with room temperature water. For the first watering, I add 1tsp powdered kelp to each liter of water. The kelp has micro-nutrients that will be taken up by the young plants.

mesclun-mustard-14

On day two after the soil warms up overnight, I plant the microgreens in one tray. I make some holes with my finger and plant one or two seeds in each hole. The goal is one seed per hole. I don’t get concerned if more go in. These seeds go straight into the soil without soaking.

I use West Coast Seed: Mustard Blend and Nicoise Mesclun Blend but there are many great blends. After planting the seeds, I water one more time. I cover the tray with an upside-down tray. This stops moisture from leaving the tray. I will leave the tray in the dark for 2-3 days. When the seeds have rooted well, I remove the tray top and put on a plastic greenhouse top and then turn on the lights.

Remember to label the trays with the date and what has been planted. I sometimes forget to do this and always regret it. The goal is to fill one tray each day. In our growing unit there are twelve trays so it should take about twelve days to load up the indoor growing unit.

sunflower-sprouts-8

On day three, I get the sunflower seeds ready for planting. If I haven’t already done so, I remove any broken or damaged seeds which can rot in the tray. I only plant viable seeds.

I did a typical mistake and sprouted too many sunflowers seeds. I could have given the extra seeds to the chickens. I decided to plant two trays. This won’t be a problem this early in the loading process.

sunflower-tray-9

I water the trays one last time. I spread the sunflower seeds carefully on the soil. The goal is to not have the seeds touch each other because they sometimes rot. I lightly press the sunflower seeds into the soil with the flat of my hand.? Do NOT cover the sunflower seeds with soil because this makes harvesting more difficult.

sunflower-covered-10

I cover the planted tray with an upside-down tray and put the seeds in a warm, dark place. When I see good root growth, I will move these trays to the light area just below. I will remove the dark top and put on a plastic greenhouse top and then turn on the lights.

On day three, I loaded up one tray with Nicoise Mesclun Blend. I make some holes with my finger and plant one or two seeds in each hole. After planting, I give the seeds one more water. I cover the tray with an upside-down tray. This stops moisture from leaving the tray. I will leave the tray in the dark for 2-3 days then remove the dark top and replace it with a plastic greenhouse top and move the tray into the light.

spotted-peas-12

On day four, I filled a tray with sprouted, spotted peas. I carefully pushed the seeds into the soil. I only planted the viable seeds. The soil was very wet so I didn’t water.

move-light-13

On day four, the first three trays are ready to be moved into the light. I remove the dark covers and replace them with plastic greenhouse covers. It’s very important to sit the covers well to avoid moisture escaping the trays.

I will continue to fill the growing unit with one new tray every day. I rotate through: Mustard Blend, black seed-oil sunflowers,? Nicoise Mesclun Blend, spotted peas and repeat. The sunflower and pea sprouts will be ready first followed by the microgreens a week later.

growing-unit-day-10

By day ten, eleven trays are full. Nine trays are under the lights and two trays are in the dark. The sunflower and pea sprouts are ready to be harvested.

chicken-greens-14

My family has been eating out of these trays for two days. I will get one more meal of salad greens from these trays. Then the trays will go to the chickens. The chickens enjoy eating the greens, seeds and roots especially during the winter when there isn’t any forage.

The sunflower and pea sprouts are ready to harvest first. I use scissors to cut the stems close to the level of the soil. The microgreens will need another week to grow before harvesting. There is a bit of mold in the left tray. I used to remove any moldy plants, root and all. This is not necessary and seems to spread the mold and stresses the other plants. I have found it’s easier to harvest any moldy plants and discard.

After the growing unit is full and depending on my family’s consumption of greens, I tend to start a new tray every 2-4 days. I continue to rotate through the four types of seeds. I hope this post was helpful in starting your own indoor homegrown greens! Merry Christmas and Happy New Year!

dec-10-2015-microgreens

On the left is spotted peas and sunflower sprouts. On the right is an assortment of eleven microgreens: arugula, curled endive, curly cress, cutting chicory, dandelion, green onions, mizuna, red komatsuna, giant red mustard and two types of pac choi.

?