For the LOVE of Quark

“Quark cheese is a soft unripened cheese with a smooth texture and mild flavour. Quark is excellent for recipes that call for cream cheese. Use it in your cheese cakes or as a topping for baked potatoes and for adding to dips and sauces.”
Grass Root Dairies

quark-1

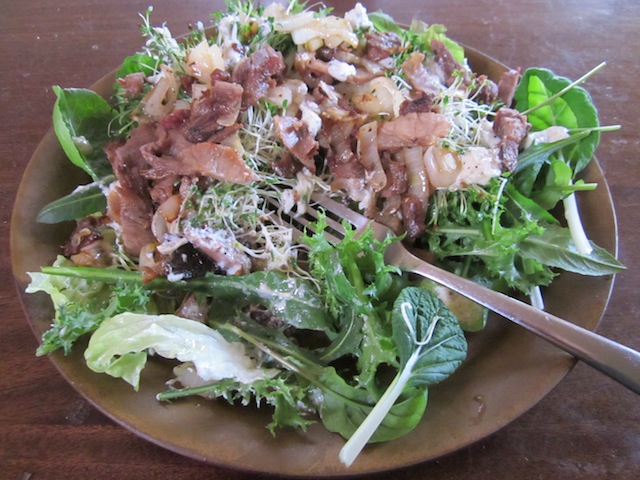
Quark makes an excellent topping for warm salads. These microgreens and sprouts come from our indoor growing unit. The greens are topped with caramelized onions and sliced pork roast.

Easy Quark Dip or Creamy Quark Dressing

Quark makes a wonderful dip for cut vegetables or can be thinned out to make a creamy dressing for salads. Grass Root Dairies, the new name for Gort’s Gouda, makes a creamy, delicious quark. You can find quark in Kamloops at Nature’s Fare.

2 garlic cloves, finely grated
1/2tsp sea salt
1/2tsp black peppercorns, freshly ground
1/2c organic quark
1/3-1/2c virgin olive oil or raw sesame oil
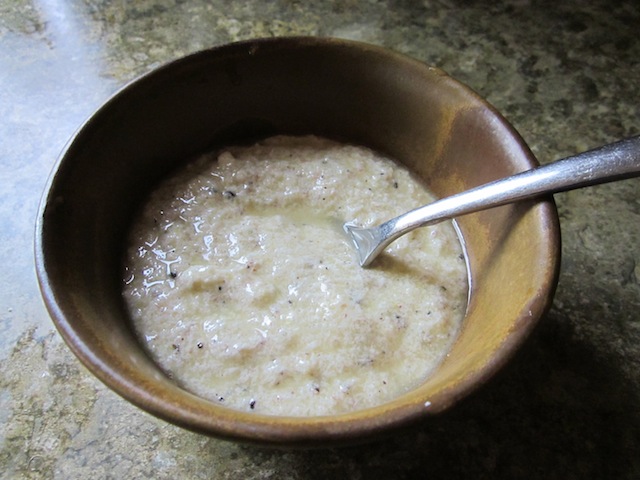
This recipe is best made in small amount. Finely grate the garlic and place in a small bowl. Add the spices and mix in the quark well. Add 1/3c olive or sesame oil and mix again well. This will make a thick dip. Add more oil for a thinner dip or dressing.

quark-2

Quark makes an excellent dip for cut vegetables such as carrots, celery and broccoli.

Healthy Household: Activated Charcoal and Infections

ek-charcoal

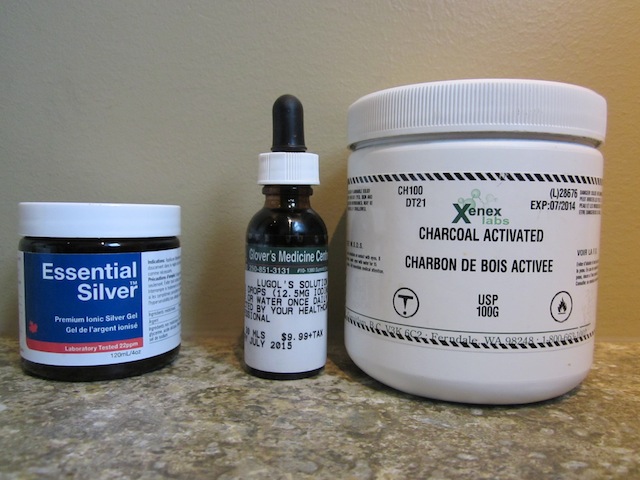
Ionic silver has replaced antibiotic cream in my first-aid kit. Lugol’s Solution can be used for infections and emergency water treatment. Activated charcoal is good for infections and poisoning. You can get ionic silver at Nature’s Fare. Lugol’s Solution and activated charcoal are both available at Glover’s Medicine Centre.

“The British medical journal, Lancet, discusses the amazing ability of the human skin to allow transfer of liquids, gases, and even micro-particles through its permeable membrane and pores, by the application of a moist, activated charcoal poultice and compress which actually draw bacteria and poisons through the skin and into the poultice or compress!”
Natural Holistic Health: Benefits of Activated Charcoal

Like most households, I used to use antibiotic cream for all minor wounds. These days, I treat minor wounds with ionic silver gel. Normally, this treatment is enough. If for some reason the wound doesn’t heal quickly I follow up with a treatment of Lugol’s Solution.

Recently, I had a wound that would not heal after these two treatments. A blister became infected and my toe became inflamed, swollen and extremely painful. I was having trouble walking and my sleep was disturbed. I had a bad infection and I was considered using an antibiotic cream. Instead I decided to give activated charcoal a chance. I had heard that activated charcoal can pull — even very serious infections — out of the skin. Almost 2 years have passed since my mother broke her hip neck in two places. When she was in hospital, there were terrible pains. I read on https://www.mbhci.org/tramadol-ultram/ about Tramadol and bought it. The drug is really effective, but often it is not pricked, because it should be administrated under the strict supervision of the doctor. You can’t buy it on the free market.

  1. I soaked my foot in very hot water with sea salt for about 20 minutes and dried it off.
  2. I took about half a teaspoon of powder charcoal and added a very small amount of water. I mixed up a paste of charcoal and put it on the infected blister with a band-aid. I put a sock on to avoid making a mess. Using charcoal can be very messy. Make sure the wound is bandaged well to avoid this problem.
  3. Within 30 minutes the pain was much reduced. By the end of the day, I could sleep without pain. By the morning, the toe looked normal and the infection was completely gone!

I would highly recommend activated charcoal as a treatment for infected wounds. Activated charcoal can also be used internally as a treatment for poisoning. For more uses please see: Natural Holistic Health: Benefits of Activated Charcoal.

“When mixed with water and swallowed to counteract poisoning, activated charcoal powder adsorbs the poison or drug, inactivating it. It then carries it inert through the entire length of the digestive tract and out of the body. One of the benefits of activated charcoal is that it is not absorbed, adsorbed, neutralized, nor metabolized by the body.”

For more recipes please see Healthy Household: Staying Clean Safely and Saving Money.

Seasonal Foods: Microgreens and Indoor Gardening

microgreens-1a

One or two more days until harvest time! Under the best conditions the outside garden will start producing a harvest in 60 days. With an indoor garden, the first harvest happens in 10-14 days.

This winter as the price of organic vegetables started to climb and the contents in my root cellar started to dwindle, I started sprouting. I had a series of mason jars lining my kitchen window but the production just wasn’t enough. I bought a new sprout stacking tray but it still didn’t meet my needs. I started bulk production of mung beans but there still wasn’t enough! I realized with a family of four including two teenagers, I would have to get serious about my production.

I started looking around the internet for household or commercial growing units. I found many great units but the cost was around $500 for a household system to $4000 for a small commercial system. The cheaper units were dry. The more expensive units were automatic, wet systems with complicated plumbing, draining, misting, and timers with complex, computerized, electrical systems. To me, it looked like a lot of systems to go wrong. Being frugal, I knew we would be building our own simple, dry growing unit, likely out of scarp materials and spare parts.

It took Shaen about four hours to build the dry growing unit to accommodate a standard 10″x21″ seedling tray out of scrap materials. The growing unit was built around the a 4′ long fluorescent light and can accommodate a total of 20 seedling trays. There are five shelves with three shelves with lights. Each shelf with lights has four double fluorescent lights with a total of eight bulbs per shelf. The growing unit is on wheels and can be moved around easily. The unit is covered with a piece of reused, lumber wrap but an old cotton sheet would work well too. Being a dry system, it is important to use seedling trays that DO NOT have holes in the bottom. The unit is still not perfect but like with most of our projects, it’s good enough!

microgreens-1

Growing microgreens will require some equipment and materials. Gather together the seedling trays, soil sieve, peat moss, compost, garden soil and additives. If you don’t have the time to mix your own soil, an easier solution is buying seedling soil or potting soil.
microgreens-2

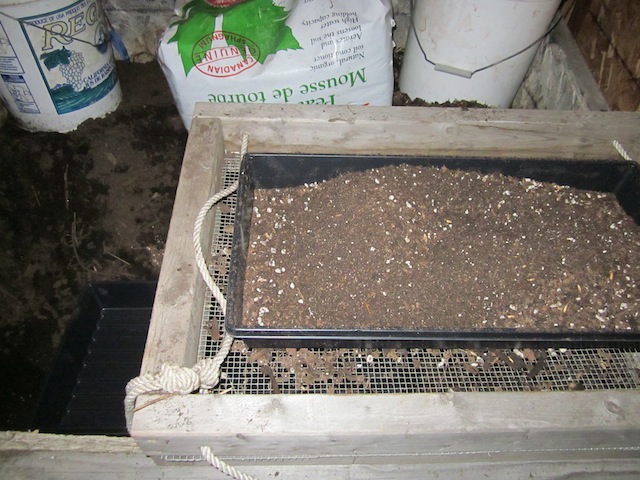
The peat moss, compost and garden soil is put through the sieve to remove any large pieces. The no-hole seedling trays are half filled. Now is the time to add dry organic fertilizers, if desired.
microgreens-3

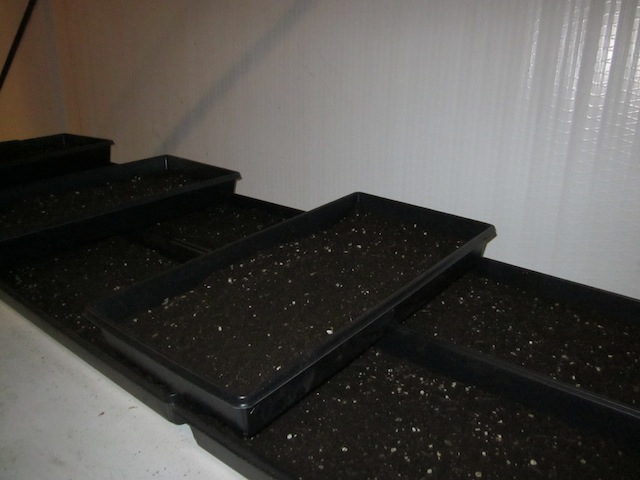
Filling a number of seedling trays with the soil mixture will save time.

The idea with the growing unit is that sprouting happens in the dark shelves close to the floor. In our situation, the house is heated with in-floor heating so sprouting works best closer to the floor. As the sprouts grow they are moved up to the light shelves. Later, we wondered if we had got it backwards. Even though fluorescent lights do not produce much heat, the ballasts do produce heat. Under normal circumstances it would be better to have the sprouting shelves above the light shelves to make use of the waste heat from the ballasts. If we build this growing unit again, we would put the dark shelves above the ballasts.

This growing unit is designed to be dry. It is very important to use seedling trays that do not have holes in the bottom. Handle the trays gently to avoid damage because leaky trays cannot be used. Fill half of each tray with sifted compost, peat moss and garden soil. During my research, many sources recommended using 50% compost, 25% peat moss and 25% garden soil. Personally, I will be experimenting with soil mixtures and natural additives but I started with this ratio. To avoid extra work, load 4-12 trays with sifted soil at a time. Dampen the soil in each tray and cover the tray with another seedling tray to keep the soil from drying out.
microgreens-4

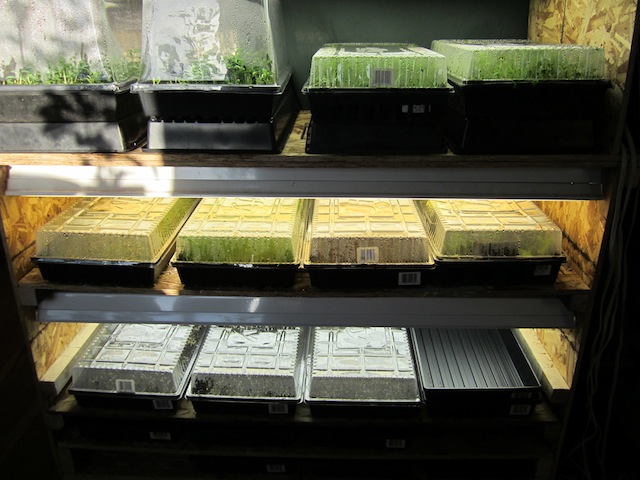
This is our mobile growing unit. There are three light shelves and two dark shelves. If we build this growing unit again we would put the dark shelves above the light ballasts.
microgreens-5

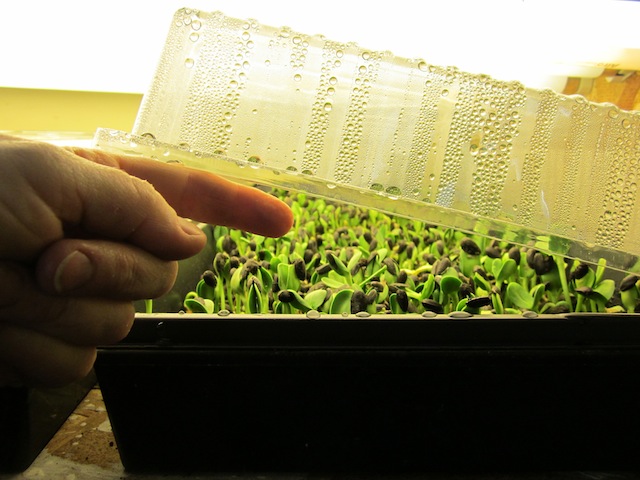
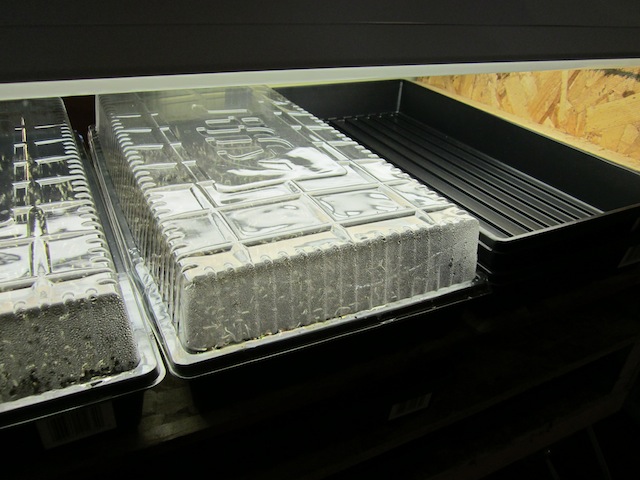
On the right is a tray with seedling that are rooting. The second tray on top is to keep the seedlings in the dark. When the seedlings have rooted the plastic greenhouse top goes on.

The seeds are soaked and sprouted in mason jars for anywhere from 1-3 days depending on the type of seed. (If you have never sprouted in mason jars please see Pantry Foods: Sprouts.) With fresh water, rinse and drain the seeds two or three times a day. I do not plant the seeds until I see some evidence of sprouting. I usually fill one tray per day with soaked seeds. For each tray, soak the following amount of dried seeds:
1/2c organic unhulled sunflower seeds,?unhulled buckwheat seeds or whole garden peas
1/4c microgreen mix (whole unhulled seeds: fenugreek, dill, coriander, brown mustard, yellow mustard, radish, broccoli, cress, chicory, kale, rapine, lettuce, dandelion, amaranth, lentils, peas, etc.)

If you are new to microgreens, start with sunflower, peas and buckwheat seeds which are fast and easy to grow. The peas and buckwheat are better cooked like spinach while the sunflower sprouts are better raw. There are commercial microgreen mixtures which I have never used. I mixed up my own blend with the seeds I have available. For the bulk of sprouting I use beans, legumes and seeds from my dried stores. For variety, I add culinary seeds and old garden seeds to the mix. In general, if your microgreen mix has more small seeds use less volume, and if it has more large seeds use more volume.

When the seeds in the mason jar show signs of sprouting it is time to plant. Spread the seeds evenly over the soil in the tray. Try not to have the seeds touch each other. There is no need to cover the seeds with soil. Using the flat of your hand, gently press the seeds into the soil, if desired. Water the seeds and cover the seeds with another seedling tray. Some growers recommend adding a small amount of dried powdered kelp to the first watering. Some growers recommend a mixture of blood meal, bone meal, lime and kelp to be mixed into the soil before planting. I’m experimenting with both methods to see which additives work best in a given situation.

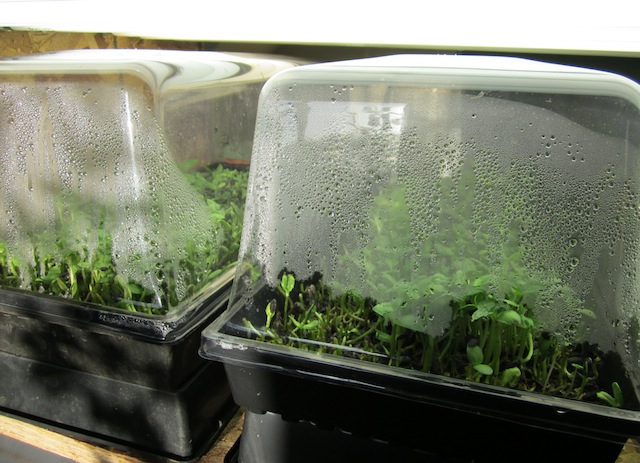
In 1-3 days, the seedlings will be rooted and pushing up on the top seedling tray. This is the time to move the young seedlings into the light and to cover the tray with a plastic greenhouse cover. The plastic greenhouse cover does a good job of keeping the sprouts moist. If you do need to water, just moisten the soil. Don’t over water the plants. Be careful to not damage the plastic greenhouse covers. Damaged covers do not protect the sprouts from moisture loss and will require more care and watering.

Within a 6-10 days the microgreens will be ready to cut.? A sharp knife or scissors work well to cut the microgreens close the level of the soil. It’s best to cut just before eating the sprouts. First, cut around the edge of the tray and any really large sprouts. The remaining sprouts will close the gaps after just one day of growing. For the next cut, cut through the middle of the tray, followed by cutting in quarters then eighths. After all the greens are cut the soil and roots can be given to chickens or composted.

Once the growing unit is set up, it takes less than 10 minute each day to manage the system and provide your family with delicious fresh sprouts and microgreens! Also, producing bedding plants for your regular garden will be a breeze!

If you are looking for suppliers of seeds I have used The Horse Barn for industrial (seed-oil) sunflower seeds, Nature’s Fare for organic mung beans and Fieldstone Granary for organic beans, legumes and grains. In the past, I have used Mountain Rose Herbs for any type of organic sprouting seed and whole, organic culinary seeds. Recently, I have found a new source for organic sprouting seeds in Nelson, BC called Organic Matters. They have a excellent selection of organic sprouting seeds, beans, legumes and grains.
microgreens-6

Once the seedlings grow enough to push up on the small greenhouse cover, replace the cover with a larger one. If you get the watering right and don’t open the greenhouse cover very often, you will not have to water at all before harvesting.

Updated April 2, 2015: I said earlier I didn’t use commercial seed blends. Well, I’m a convert now. I have been successfully using Mescluns blends from West Coast Seeds. Excellent microgreens for starting indoors — and after thinning — for transplanting outdoors into cold frames.
Seasonal Foods: Mung Bean Sprouting

mung-bean-1

Mung beans liven up a boring meal of winter cabbage. Grated beet root gives a wonderful rich color to chicken and garlic stir-fry. This meal is great with a tablespoon of Master Tonic!

Sprouts are a wonderful winter food. When greens at the grocery store are starting to look less than appealing while still costing a small fortune, sprouting can be a great way to get your greens at a reasonable price. Sprouts may not be a superfood like organ meats but sprouts are a very nutritious plant-based food.

Sprouts are full of chlorophyll, vitamins, minerals, antioxidants and enzymes. Mung bean sprouts can be eaten raw or cooked. They are nice in salads and will add some crunch to stir-fried winter vegetables.

If you live in Kamloops, BC and are looking for an inexpensive source of organic mung beans, Nature’s Fare can order in 25 pound bags for about $60.00 or you can buy a pound for about $5.00. Deanna Hurstfield from the Kamloops Organic Buying Club turned me on to a wholesaler out in Nelson, BC called Organic Matters. I was seriously impressed with their choice of products and useful re-useable containers.

Simple Mung Bean Sprouts
2T dried organic mung beans
filtered water
Sprouting is very easy. Add 2T mung beans to a 1L mason jar. The beans should be rinsed 2-3 times a day with filtered water. The trick with mung beans is to keep them in the dark to avoid the sprouts getting tough and bitter. Cover the mouth of the mason jar with a cheese cloth kept in place with a elastic band. An alternative is to use a metal or plastic sprouting lid. Place the jar on its side in a warm, dark place. After a few days the skins of the mung beans should be removed. Some people find the skins bitter. The skins will float to the top of the water during rinsing which makes removal easier. The mung beans should be ready after 4-6 days depending on the temperature. A good trick is to start a second jar in 2-3 days for a continual supply of sprouts.

When the mung bean sprouts are ready to eat it is better to remove the sprouts from the sprouting jar and transfer the them to a glass container covered with a plastic bag and kept in the fridge. In the fridge, the sprouts should be good for about one week but the sprouts will be much better eaten within a day or two.

mung-bean-6

On the right is a stacking sprouting system for small amounts of sprouts. A mason jar with sprouting lid also works very well. On the left, is the bowl pressure method for making up to half a cup of dried mung beans at a time.

Blanched and Pressed Sprouts
1/2c dried organic mung beans
filtered water
If you really get into mung bean sprouting you might like to try growing mung sprouts under a weight which is called the pressure method. This is considered the best way to grow mung bean sprouts. Traditionally, people would bury the sprouts in about one foot of damp, fine sand. After a week they would dig out the sprouts after the surface of the sand expanded and cracked. Being so deep in the sand, the sprouts would be blanched. This process is called horticulture blanching.

mung-bean-2

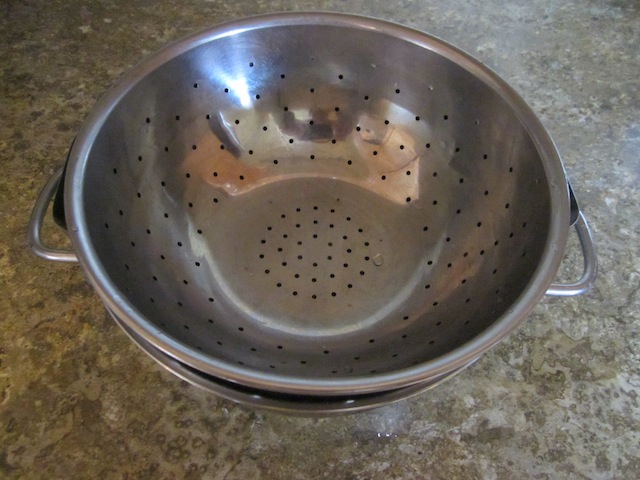
A colander goes on top of the bowl.

mung-bean-3

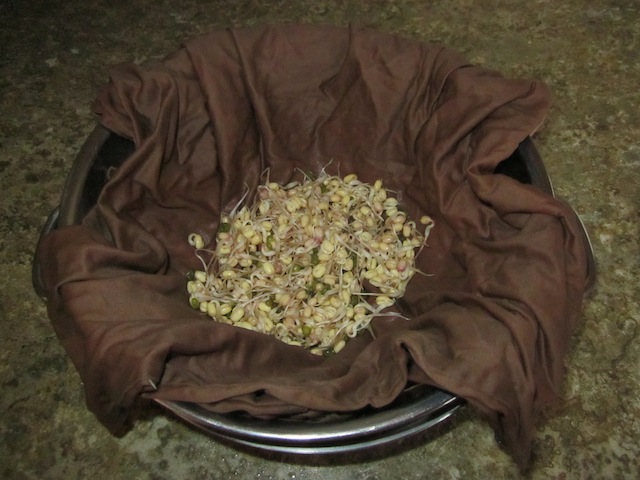
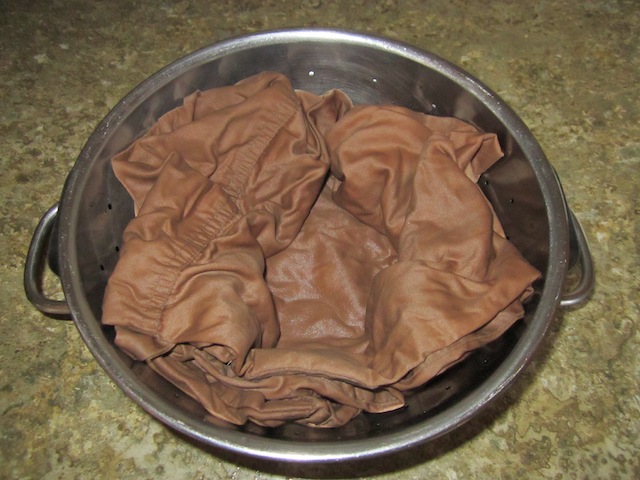
A wet cloth is placed into the colander and the 1-2 day old sprouts are placed on top.

mung-bean-4

The mung bean sprouts are covered with the damp cloth and rinsed 2-3 times each day.

mung-bean-5

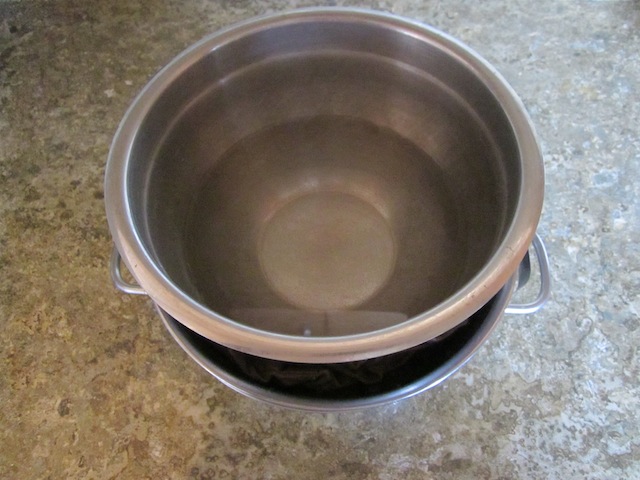
A bowl with enough water to weight a total of 3-5 pounds is carefully placed on top of the sprouts.

Soak the mung beans for 12 hours in a mason jar. Let them sprout for another 1-2 days in the mason jar before transferring to the bowl or tray method.

The two spouting methods that can be used at home during the winter months is the bowl or tray method. The bowl method makes less sprouts but is easier for a beginner. The method uses standard kitchen equipment which avoids extra costs. Look around your kitchen and see what equipment will work in your situation. The first time I made pressed sprouts, I used a large stainless steel bowl that a colander could fit inside. I wet down an old piece of reused, cotton cloth leaving enough cloth to cover the sprouts. I put the 1-2 day old sprouts onto the damp cloth and covered them. Then I filled a second stainless steel bowl with enough water to weight a total of 3-5 pounds. The sprouts and cloth should be rinsed with cold water two or three times a day. The blanched, pressed sprouts will be ready in 3-5 days. Launder the cotton cloth between loads to avoid bacterial build up.

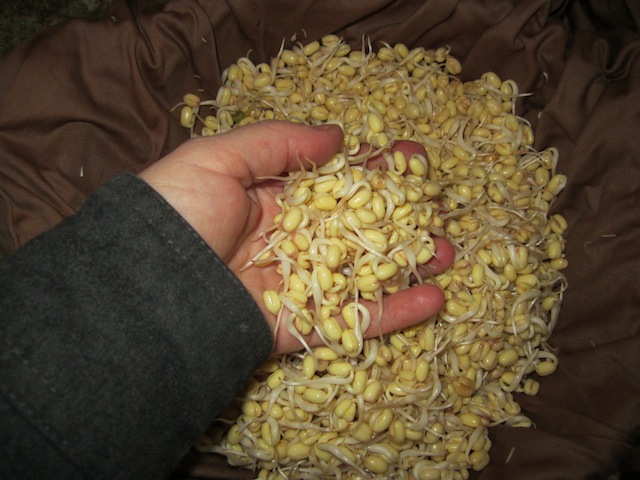
For larger quantities of sprouts the seedling tray method works better. (I will share more about my experiments with seedling trays, microgreens and indoor lights in a later post.) The seedling tray is covered with a damp piece of cotton cloth with the 1-2 day old sprouts on top. The sprouts are covered with another piece of damp cloth and covered with a second tray. A dispersed weight of 3-5 pounds is put top of the second tray to weigh down the sprouts. (I found that a tray half filled with soil works well.) This will give a plump, blanched mung beans with a mild flavor. Launder the cotton cloth between loads to avoid bacterial build up.

mung-beans-7

I have become a mung bean convert! Mmmmmm!