Sweet and Spicy Ribs: Photo Essay

gobox-ribfest-6a

Being frugal our family has our own rib festival at home. We also save the pork fat for later cooking and the bones for bone broth.

Kamloops RibFest has just ended. We decided to have our own RibFest at home. Being frugal we can feed the whole family for the price of one serving of festive ribs. Here’s what we do for delicious, homemade ribs!

Rib Marinate
2-3T organic cider vinegar
1tsp sea salt
1 organic bird’s eye pepper

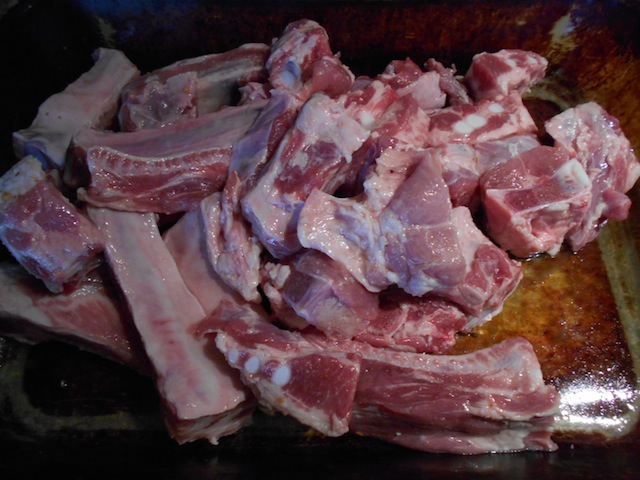
Cut up a whole rack of ribs into small pieces. Use a mallet and clever to cut through the bones. Place the ribs into a glass baking tray. Marinate the ribs in cider vinegar and spices for at least 30-60 minutes at room temperature. Longer is better.

Rib Sweet and Spicy Sauce
1/4c to 1/3c organic cider vinegar
1/4c organic ginger, finely grated
1/4c organic garlic, finely grated
1tsp sea salt
1 organic bird’s eye pepper
1T local honey

In a sauce pan mix up the cider vinegar, ginger, garlic, sea salt, pepper and honey. Bring the mixture to a boil and set aside for later. This sauce will be added to the ribs in the last 20-30 minutes of cooking.

Cook the marinated ribs at 300F for 90-120 minutes. Have one layer of ribs so the ribs will brown nicely. Use two glass trays, if necessary. When the ribs are done, pour off the fat and save it for later cooking. Any drippings from the ribs are added to the spicy sauce. Save the rib bones for making Bone Broth.

After the ribs are nicely browned, stir in the spicy sauce and cook for another 20-30 minutes. Carefully check and stir the ribs every 10 minutes to avoid the sauce from burning. If you want sweeter ribs, add two tablespoons of Apple Chutney just before serving.

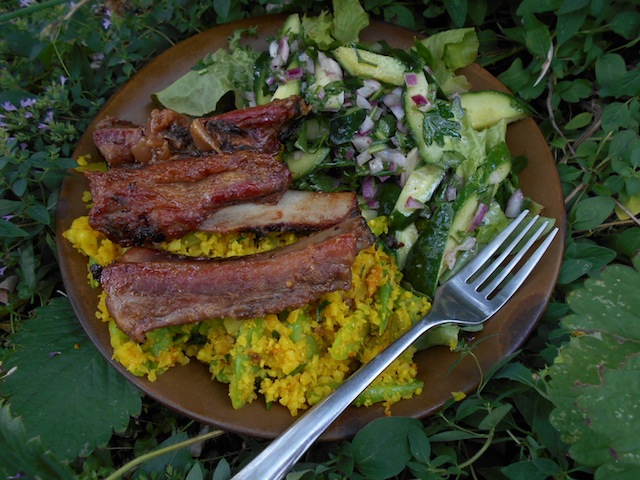
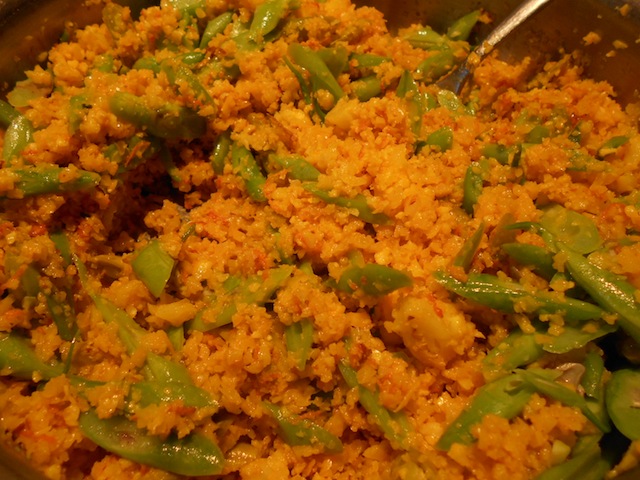
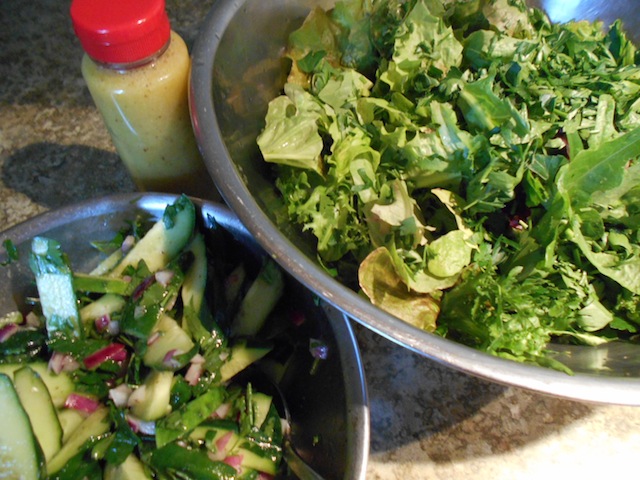
Serve the ribs on a bed of Cauliflower Side Dish and have a garden salad with Mustard Dressing on the side.
gobox-ribfest-1

Marinate the ribs for at least 30-60 minutes at room temperature.
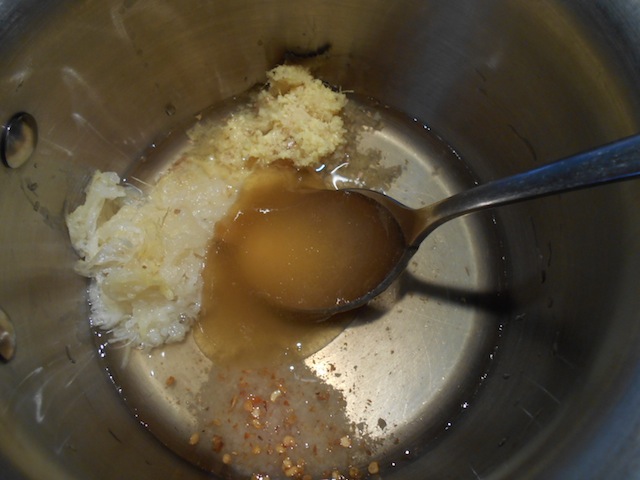
gobox-ribfest-2

Heat the Sweet and Spicy Sauce to the boiling point and set aside for later use.
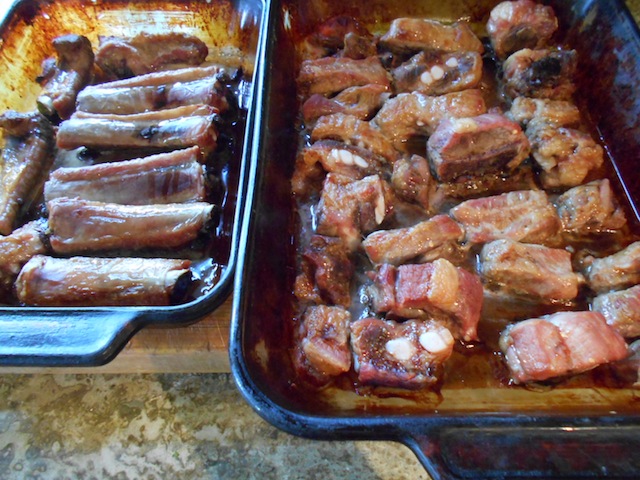
gobox-ribfest-4

Place the ribs in one layer on the glass tray. This ensures the ribs brown well. Use two trays, if necessary.
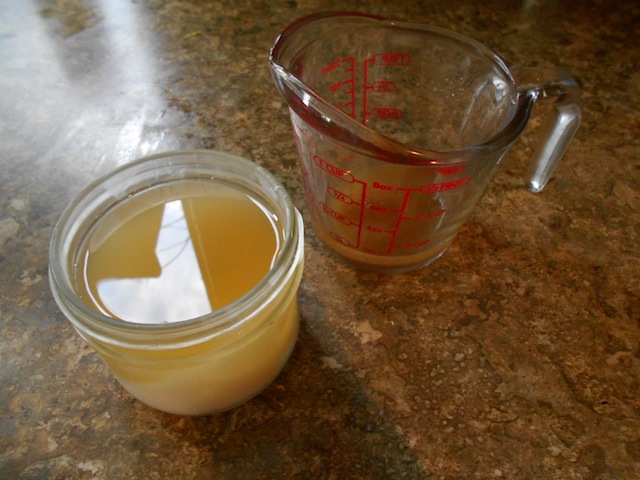
gobox-ribfest-5

When the ribs are done, pour off the fat for later cooking. Put any rib drippings into the sauce.
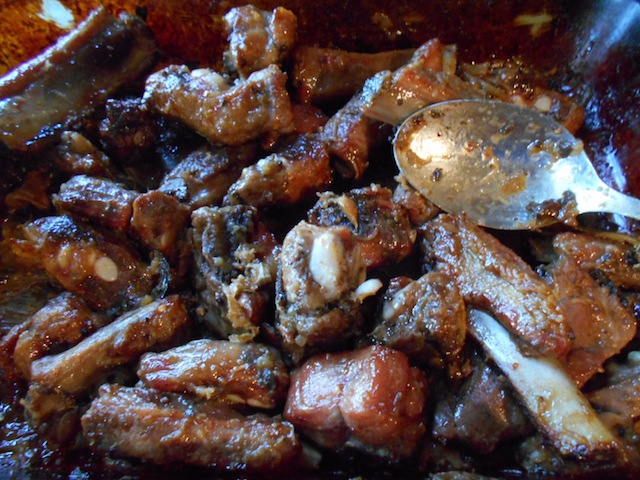
gobox-ribfest-6

After adding the sauce to the ribs, check and stir every 10 minutes to avoid burning.
gobox-ribfest-3

Serve the ribs on a bed of Cauliflower Side Dish with seasonal, garden vegetables.
gobox-ribfest-3a

These ribs are nice with a side of garden salad topped with Mustard Dressing.

Milk, Milk and More Milk

Patty is into her flush of milk. Even though Patty is feeding two adopted calves, she is producing over 56L of milk and cream a week. It is time to freeze milk for the winter even through it is hard to think about the cold winter months when the summer heat has just started. There are some good reasons to milk seasonally and freeze milk:

  1. The best milk is from cows on fresh green pasture which is only available for part of the year in Kamloops.
  2. Unless you have a herd of dairy cows and can stagger pregnancies, having fresh raw milk all year round is almost impossible. Milking cows need to be dried off at some point in their pregnancy. The milking cow will be physically stressed by any third trimester milking. This stress may negatively affect the calf’s health and the cow’s longevity.
  3. The Milker needs a break from the twice a day labor of milking. Milking in winter, in the dark and cold, isn’t any fun.

Last year, I experimented with freezing milk with and without the cream. Skimmed milk freezes very well and when unfrozen is similar to a commercial 2% milk. Milk with a cream layer has a lumpy texture when unfrozen. Last year, I tried freezing in glass jars to avoid using plastics. This did not go very well. I had some breakages which made me realize that sometimes it is better to use plastics even though I do not consider plastics in contact with food safe.

This year, I will skim off the cream and freeze the milk in 2L rectangle plastic containers. I will pop the frozen milk out of the plastic container, use two layers of plastic bags to protect the milk from off flavors, and date each brick. I will need put away about 110, 2L bricks of milk to make it through Patty’s dry period. This spring, we consumed frozen milk which was about five months old. I could not detect any off flavors, so storing for six months seems possible.

Freezing milk is easy and can save money. My family goes through about 8L of milk and about 1L of cream a week. Of course, I can’t get raw milk from the Industrial Food System but the closest product, organic milk, would cost my family over $2000 a year. My family goes through about two or three pounds of organic butter a week, which costs over $1000 a year. If you are interested in how to make butter please read Making Raw Sweet Butter or Raw Cultured Butter.

Another product we make is ice cream. High quality ice cream is very expensive. During the hot summer months, we make about 1L of ice cream ever day. If you would like to learn some of our favorite ice cream recipes, please read Cream, Cream and More Ice Cream Recipes. Our girls can eat as much of this delicious food as they want. I feel very good about the quality of the ice cream knowing every ingredient that went into the dessert. I know the raw cream is full of healthy fats that will help my girls grow into strong women.

My Mother’s Dutch Oven

dutch-oven

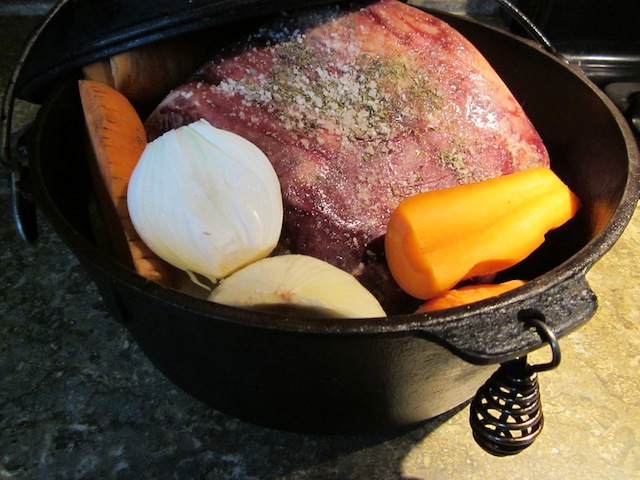
A Dutch oven is best for long, slow cooking. It will take the toughest cut of meat and make it fall off the bone. It works like a crock pot in the oven. These case iron pots will last for generations, making it a good choice for someone wanting to reduce their carbon footprint.

Over the winter I have found my Mother’s Dutch oven to be indispensable. This bare cast iron pot has a wire bail handle. On one side of the pot is a coiled wire handle which helps lift this heavy pot when full. With the help of a tightly fitted lid this pot is useful for many types of cooking. It can be used on top of the stove for frying or boiling or in the oven like a covered casserole dish for slow roasting. I have never used it for baking, but the pot and lid can be used over an open fire as an “oven” for baking biscuits, breads and cakes. It is a wonderful, versatile kitchen implement. I cannot remember a time when this pot was not in my Mother’s kitchen. It may have been a wedding present which would make it almost sixty years old. It is in perfect condition after years of heavy use. I will be giving this pot to my children.

In my vegetarian days, I found I didn’t like cast iron because I found seasoning with vegetable oils produced a gluey residue on the fry pans or pots. (I didn’t know that if I had used traditional fats like lard, schmaltz, or tallow, I would never have had problems with my Mother’s cast iron pots and pans. Of course, I wouldn’t have used animal fats because I was a vegetarian.) So, I moved away from my Mother’s cast iron pots for two decades and became a consumer of non-stick fry pans and stainless steel pots.

In the last few years, as I have learned more about nourishing traditional foods, I have removed all the non-stick pans from my kitchen. I still use my stainless steel pots and pans, but they don’t do a great job in the oven. I started using glassware for the oven which works well for quick baking but doesn’t do a good job at slow roasting. I still had my bias against cast iron from my vegetarian days and heard that enameled cast iron did not stick as much as cast iron. So I bought a number of Le Creuset enameled Dutch ovens. These are very nice pots but they are very expensive. I bought them as seconds so the price wasn’t as bad but most people would find the price excessive.

This winter my sister brought out our Mother’s old iron pots and pans. Since we do not have vegetable oils in the house, the old cast iron was seasoned with lard, schmaltz, and tallow from my grease bucket. Lo and behold the bare cast iron did not stick. A few of the old cast iron pots still had the sticky residue from old vegetable oils which took some time to remove. Once the old vegetable oil was removed, the old iron fry pan would became slick and easy to clean from the animal fats.

It is funny how our actions can have unintended results. Becoming a vegetarian made my Mother’s iron pots and pans not work for me. I became a consumer of Teflon pots, pans and baking trays which I needed to throw out every few years as they got scratched up. Many people discard grandma’s iron pots and pans because of sticking, not knowing that this modern problem is caused by industrial vegetable oils. In the end, the Vegetable Oil Companies created a new industry for non-stick pots and pans. This started our society’s love affair with Teflon with all its related health problems. Do as your grandmother did and her iron pots and pans will last a lifetime. Maybe even several lifetimes. For more information about collecting your own animal fats please read The Great Grease Bucket: Something from Nothing.
?Something from Nothing? is what a frugal housewife would get when she went to the trouble to save drippings from roasted meats, sausages and bacon. ?Something from Nothing? is what the Vegetable Oil Companies created when they convinced everyone that the grease bucket was unhealthy and would cause disease or possibly death.

So, if you are interested in nourishing traditional foods and saving money, go to your local garage sale and pick up a load of dusty old cast iron pots and pans that someone is throwing out. Save your drippings from roasted meats, sausages and bacon and use your grease bucket to season your cast iron pots. You will be shocked at how slick your cast iron will become. Here are instructions for seasoning your pans. Just remember, use animal fat. NEVER use industrial vegetable oils.

Beautiful Bone Broth

stew

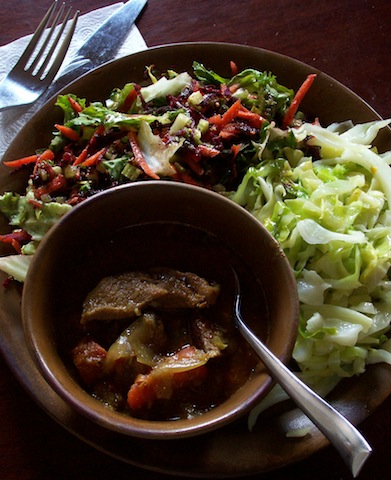
Bone broth adds a complex and deep flavor to all soups and stews. This beef and vegetable stew has a rich and powerful flavor.

When I first learned about the Weston A Price Foundation, the first change I made in my household was making bone broth from scratch. I saved bones and scraps from meals and stored them in a bag in my freezer. When the bag was full, I dumped the bones into a large pot and filled the pot with cold water. I added about 3-4T of cider vinegar and let it sit for an hour. I simmered the pot for 6-24 hours at a very low temperature, then cooled and removed the fat.

If you are trying to save pennies, don’t throw out this fat layer. Save it for high temperature frying. (Fat from pastured animals is good for you.) The broth will be rich in gelatin, calcium, magnesium and phosphorus. This broth will be a great addition to soups, stews and reduction sauces. If you want to make a lighter broth, repeat the process again. This second-run broth will not be as rich in gelatin.

Warning: If you make bone broth you will never be able to go back to store bought stock again. Sorry, about that.

If you are interested in traditional recipes like your great grandmother used to make, Nourishing Traditions by Sally Fallon is a great source. It is available at the Kamloops Public Library. Here is an essay by Sally Fallon called Broth is Beautiful.

Updated June 8, 2010: I have found the bones, boiled for bone broth, make a wonderful soil additive. Normally, bones take a very long time to decompose in the garden. The waste bones from bone broth will completely disintegrate in the garden, within about a year.