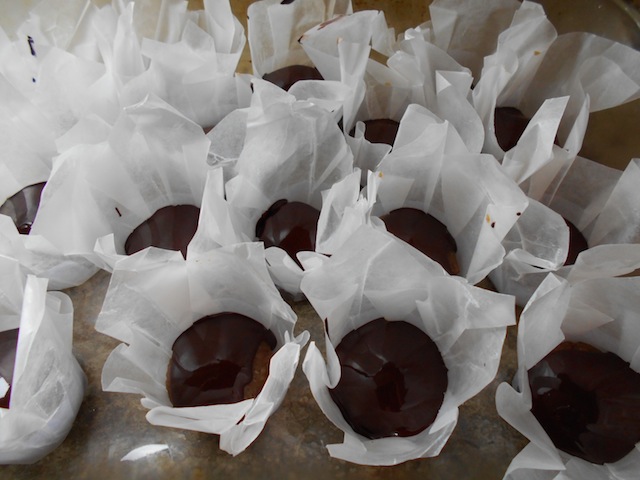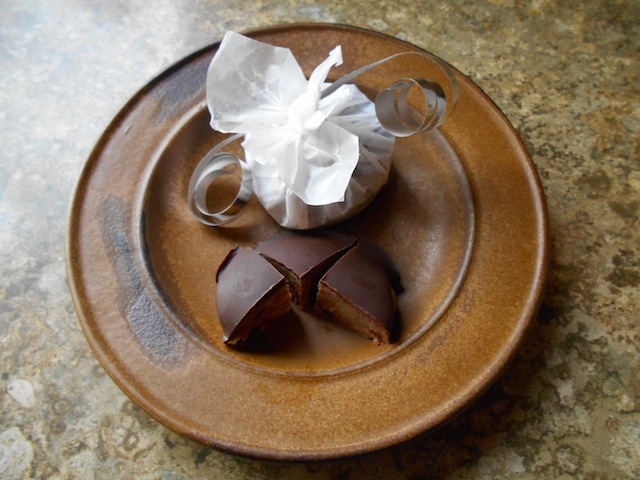
Sweet Potato Custard is a very rich dessert with a complex, deep flavor.
This recipe is NOT safe for someone on the Specific Carbohydrate Diet or GAPS.
This recipe originally came from The Joy of Cooking. I’ve made some changes to the recipe. Even though it’s messy and a hassle, it’s necessary to put the cooked sweet potatoes through a sieve for a smooth custard.
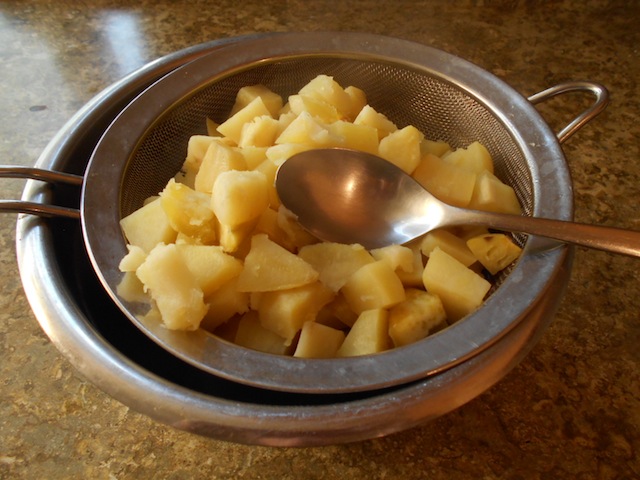
Put the cooked sweet potatoes through a sieve for a smooth custard.
This recipe requires using a water bath for making the custard.
Sweet Potato Custard
1 1/2c organic sweet potatoes, peeled, cubed, and cooked
1/4c local honey
1/4c organic butter, cubed
1T homemade vanilla extract
4T organic lemon, juice
1tsp organic cinnamon, ground
1tsp organic nutmeg, freshly ground
1/2tsp sea salt
5 pastured eggs, whole
1c organic whipping cream
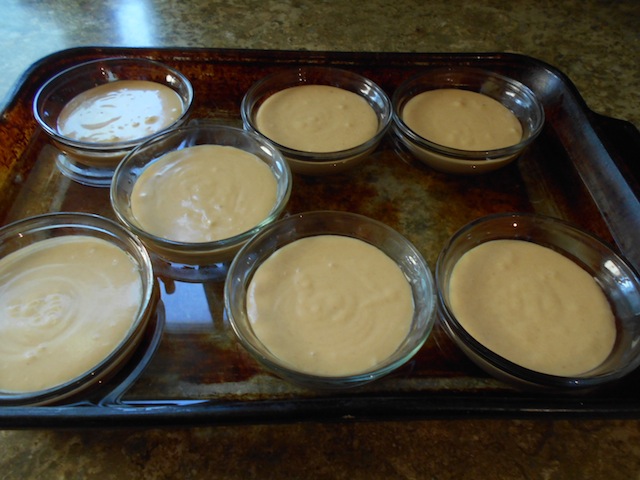
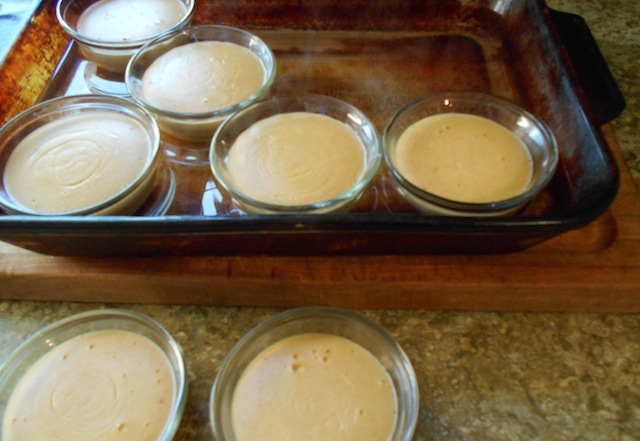
Peel about 4 cups of sweet potatoes and cut into small cubes. In a double boiler, stream the cubes for 20 minutes or until very soft. Force the well cooked sweet potato cubes through a sieve. You will need about 1.5 cups of sweet potatoes. Use the extra sweet potatoes for another meal. Preheat the oven to 325F. Get a large glass tray for the water bath and 6-8 glass bowls for the custard.
In a food processor, puree the sweet potatoes, honey, butter, vanilla extract, lemon juice, spices and salt until very smooth. Add one egg at a time, then add the whipping cream at the end.
Pour the mixture into 6-8 glass bowls. Place these glass bowls into a water bath. The water for the bath should be hot water from the tap. Carefully transfer the tray into the oven and cook at 325F for 20-30 minutes. Check the custard to see if it has set. Sweet potato custard sets up fast so keep an eye on it. The Joy of Cooking states: “The trick is to pull the pie from the oven as soon as the filling has thickened to a gelatin-like consistency in the center.”
Don’t overcook custard! Quickly remove the custard bowls from the water bath and let cool. Refrigerate until ready to serve.
Quickly remove the custard bowls from the water bath and let cool.
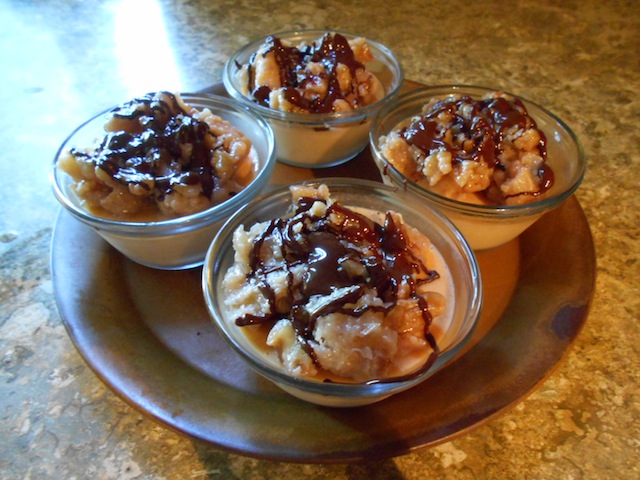
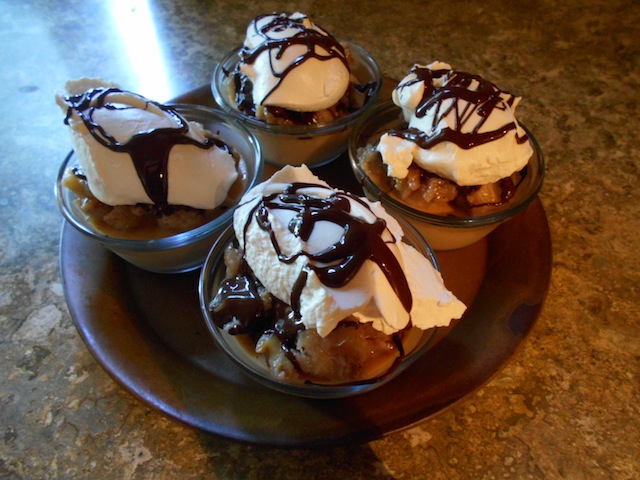
Spoon the fried bananas and nuts over the top of the custard. Drizzle with melted chocolate.
Banana Filling
4 organic bananas, sliced
1/4c organic coconut oil
1/4c organic butter
1/2tsp sea salt
1c organic walnuts
1-2T local honey
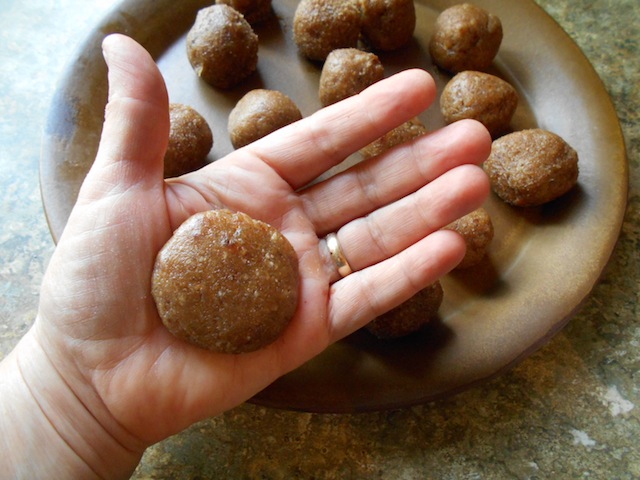
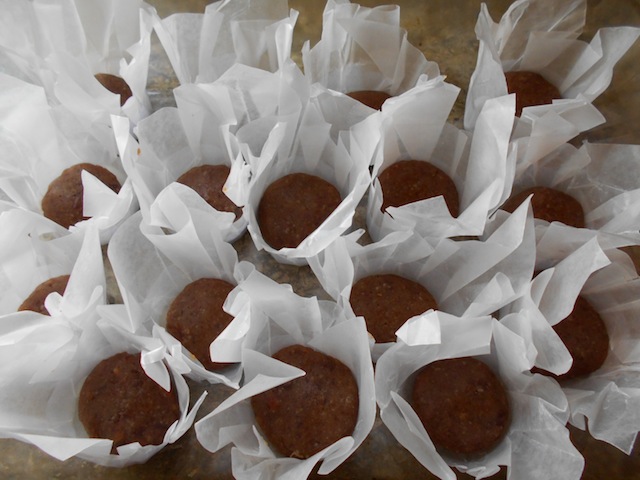
In a fry pan, warm the coconut oil, butter and salt over medium heat. Toast the walnuts until just browned slightly. Add the banana slices and brown. Remove from the heat and add the honey. After the banana filling has cooled to room temperature, spoon out an equal amount of filling onto each custard. Drizzle with melted chocolate.
Whip Cream Topping and Drizzled Chocolate
2c organic whipping cream
1T local honey
1 pinch sea salt
1/2c organic 70% dark chocolate, pieces
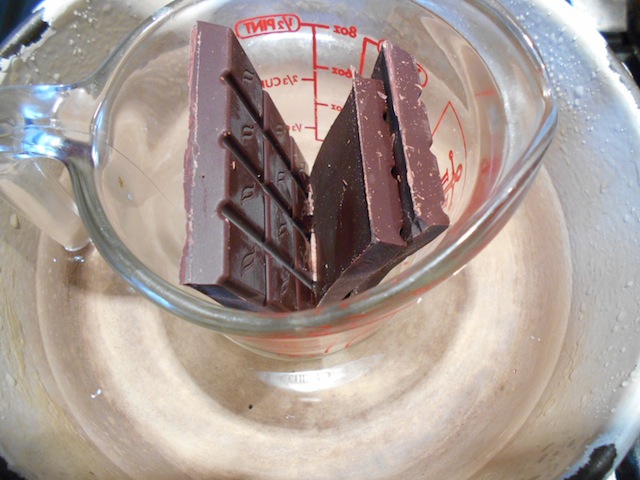
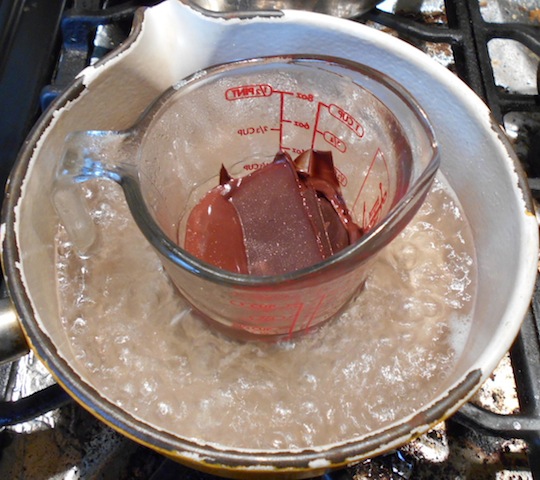
Half fill a sauce pan with water. Place a Pyrex measuring cup filled with chocolate pieces in the water and bring to a simmer. Stir and let the chocolate melt before removing from the heat. Use a teaspoon for drizzling the melted chocolate on the banana layer.
In a food processor, add the whipping cream, honey and salt and blend until the whipping cream is firm. Top each custard with whipping cream and use the last of the melted chocolate to drizzle on top of the whipping cream. Serve immediately!