Sunflower Cups: Photo Essay

“Necessity is the mother of invention.”
English Proverb
sunflower-cups-10

Sunflower Cups do taste kind of like Reese’s Peanut Butter Cups, but healthier!

This recipe is NOT safe for someone on the Specific Carbohydrate Diet or GAPS.

I was trying to make some Dr Axe’s Salted Paleo Sunbutter Cups. Yes, I’ve made some changes to the original recipe. I did have a few problems. I didn’t have any waxed muffin liners or even a muffin tin. I did have some wax paper and some masking tape, so I made up my own wax liners by wrapping the wax paper around a metal tea strainer. I then used the masking tape to hold the shape. My DIY waxed muffin liners worked great!

Sunflower Cups

Filling
1 1/4c organic sunflower seeds, ground
6-8 organic dates, pitted and soaked
1-3T organic coconut oil
1T homemade vanilla extract
1tsp sea salt

Chocolate Topping
1 70-80% organic chocolate bar, melted
1T organic coconut oil

Make some wax paper liners by cutting the wax paper into squares. Fold the wax paper squares around some household item that’s a suitable size and shape. Tape the wax paper to keep the shape and put the liners into a glass tray.

Bring some water to a boil. Place the dates in a small bowl and pour just enough boiling water to cover the dates. Cover the bowl and let cool. Pitt the dates. In a food processor, grind the sunflower seeds to a fine texture. Add the soaked dates, coconut oil, vanilla extract and sea salt. The dough should be firm enough to roll into balls. If not, add some more ground sunflower seeds. Work all the dough into balls. Flatten each ball so it just fits into the wax paper liners.

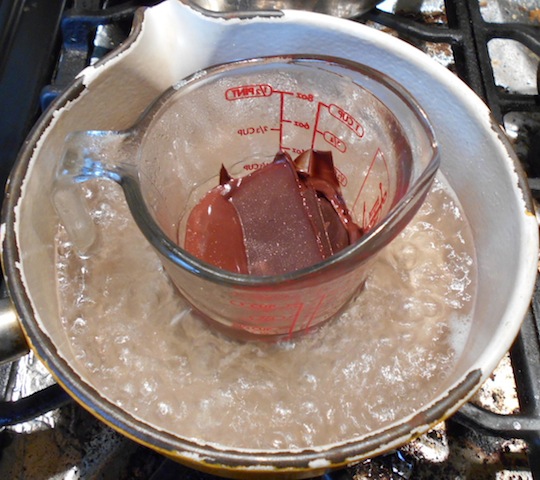
Put the chocolate into a Pyrex measuring cup and place the cup into a sauce pan with water. Bring the water to a boil and simmer until the chocolate is just melted. Pour the melted chocolate over each flattened dough ball. Cool the tray in the freezer until the Sunflower Cups have hardened.

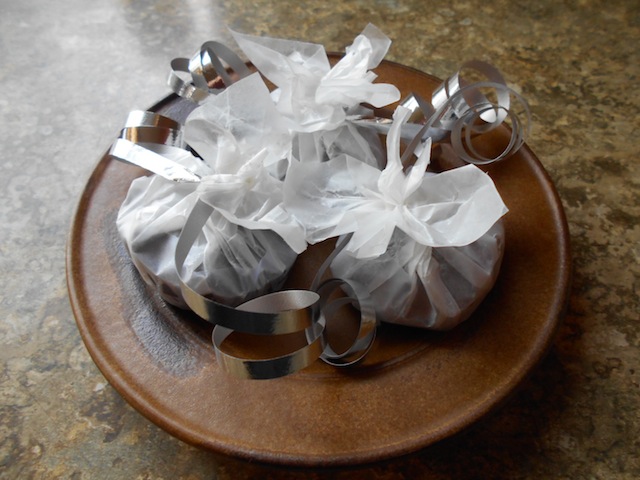
Twist each liner a number of times like a candy wrapper and tie with a piece of ribbon or string. Sunflower Cups make nice gifts! They do taste kind of like Reese’s Peanut Butter Cups, but healthier!

One last tip. Save your Sunflower Cups’ candy wrappers if you are going camping. The wax paper makes excellent fire starter. It burns like a bugger!
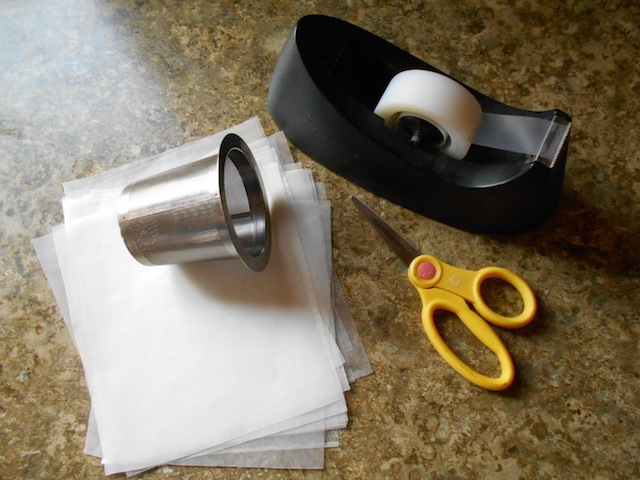
sunflower-cups-1

Collect needed supplies: wax paper, scissors, tape and a kitchen item with the right size and shape.
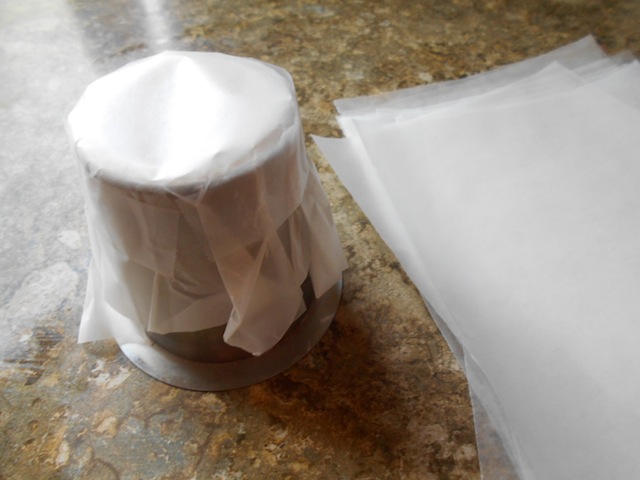
sunflower-cups-2

Fold the wax paper squares around some household item that’s a suitable size and shape.
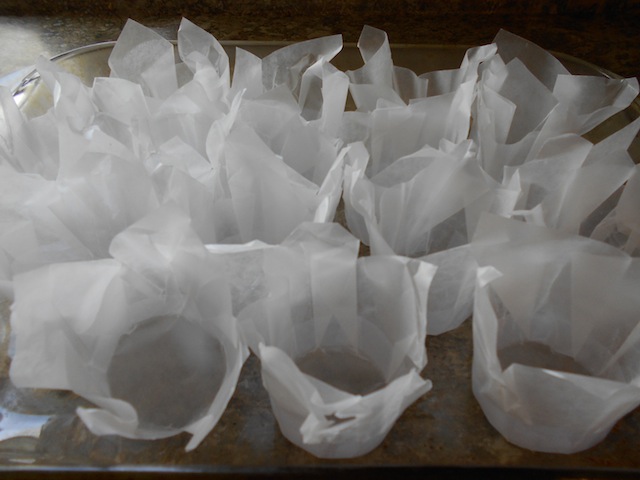
sunflower-cups-3

Tape the wax paper to keep the shape and put the liners into a glass tray.
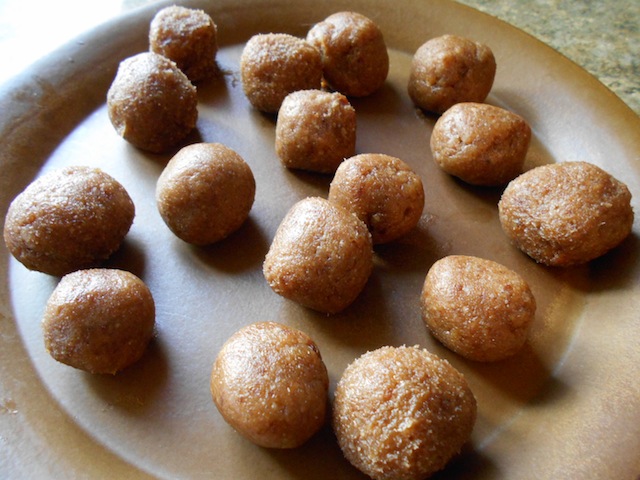
sunflower-cups-4

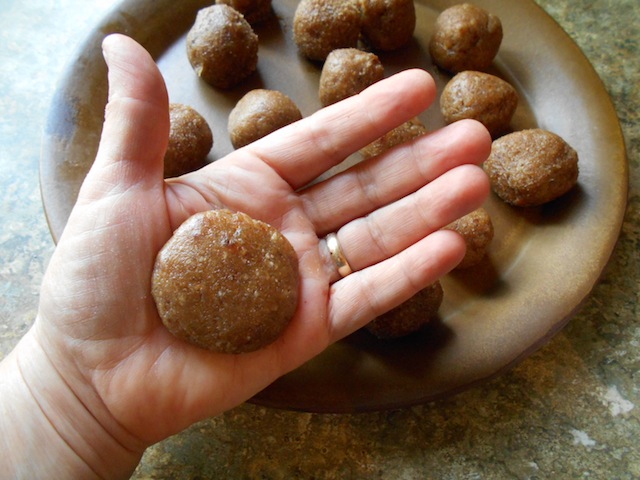
The dough should be firm enough to roll into balls.
sunflower-cups-5

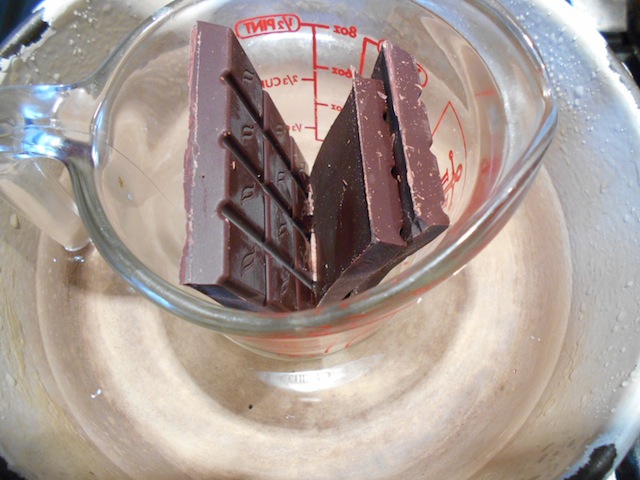
Melt the chocolate in a Pyrex cup in some simmering water.
sunflower-cups-6

Flatten each ball so it just fits into the wax paper liners.
sunflower-cups-7

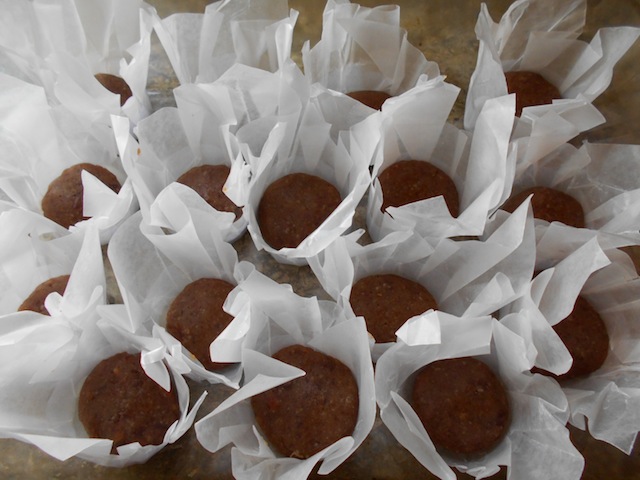
Place each flatten ball into the liner. If the dough is too big, just re-roll and try again.
sunflower-cups-8

Just melt the chocolate. Don’t overdo it.
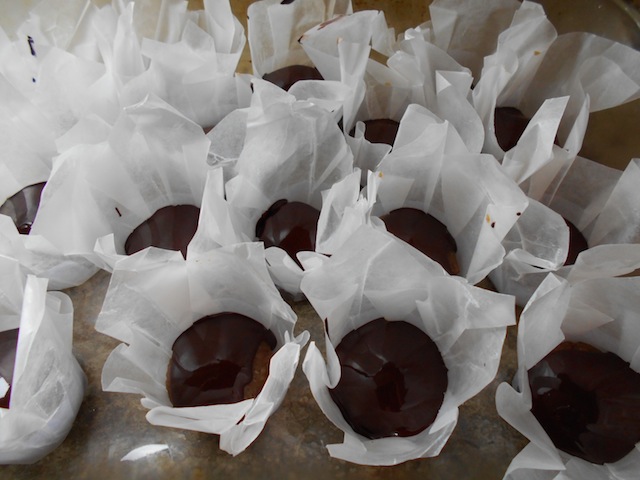
sunflower-cups-9

Pour the melted chocolate over the flattened dough balls. Put the tray into the freezer to cool completely before wrapping.
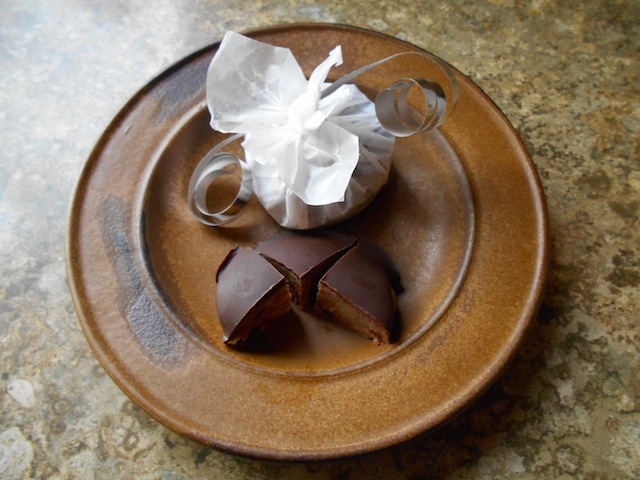
sunflower-cups-11

Sunflower Cups are a nice, healthy gift you will feel good about giving!

Macadamia Candy

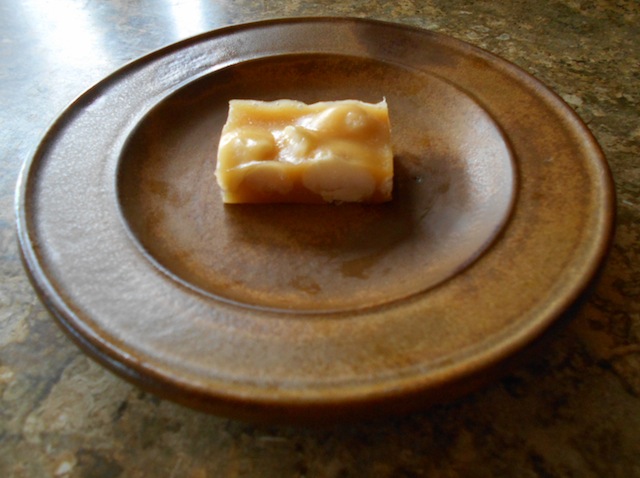
mac-candy-3

Macadamia Candy has a buttery flavor with a satisfying crunch, while not being too sweet. Warning: it’s hard to eat just one piece!

This recipe is safe for someone on the Specific Carbohydrate Diet or GAPS.

This recipe is a reworking of Walnut Chocolate Toffee using macadamia nuts. I had the good fortune of getting some macadamia nuts on a recent trip to Hawaii. If you are going to the Big Island, I would recommend going on a tour to Hamakua Macadamia Nut Company and bring back a big bag of macadamias!

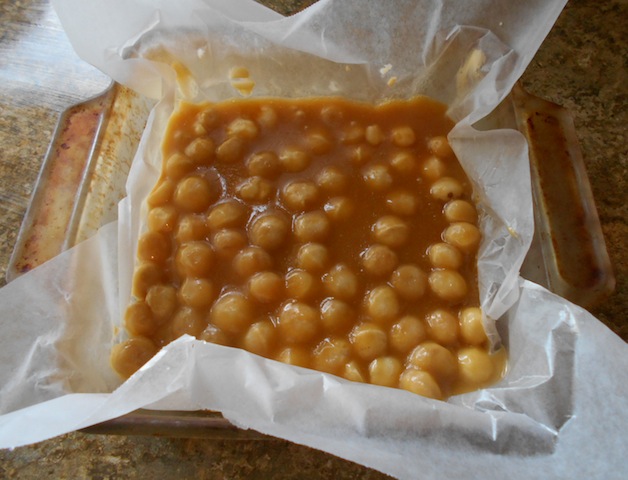
mac-candy-1

Butter a piece of wax paper before pouring in the candy to avoid excessive sticking.

1/2c organic butter
1/4-1/3c local honey
1/2tsp sea salt
1T organic whipping cream
1T organic vanilla extract
1c organic macadamia nuts
As I’ve said before, making candy is a bit of a science and a bit of an art. Some people use the cooking time or temperature to decide if the candy is ready. Others use the color of the candy — that of a brown paper bag — to tell when the candy is ready. Another method is to drop a small amount of candy into a bowl of cold water and test the firmness of the candy between the thumb and forefinger. I find using the cooking time, the color of the candy and the water test (when in doubt) works best for me.

Butter a piece of wax paper and place it inside a 8″x8″ glass baking tray. In a sauce pan, warm the butter, honey and sea salt and bring to a boil. Stir all the time and boil for 7-8 minutes. This longer boiling time will result in a harder candy. Remove the candy from the heat and add the cream and vanilla extract and mix well. Be careful, the hot mixture will spit and foam up.

Stir in the macadamia nuts and quickly transfer the candy to a buttered, waxed paper. Made sure the candy is smooth and put the tray into the freezer. In about 10-15 minutes the candy will be ready to cut. Remove the wax paper and candy from the tray and place onto the counter for easier cutting. Cut into 32 pieces. Serve when completely cooled.

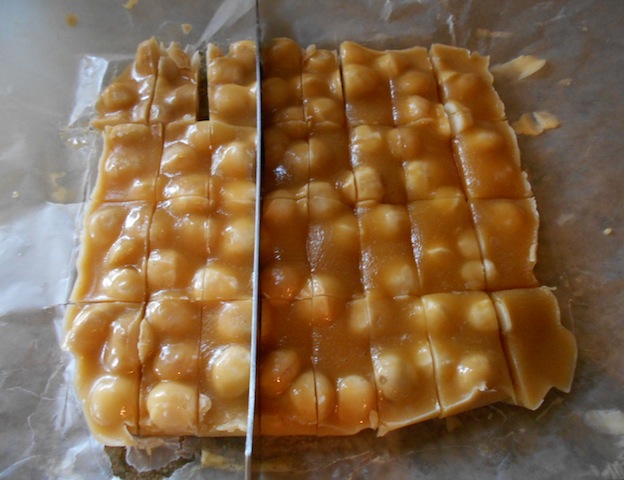
mac-candy-2

Remove the wax paper and candy from the glass tray before cutting. It’s easier to cut the candy before it has completely cooled.

Emergency Preparation: Target Focus Training

WARNING: This post is a departure from the normal topics on this website.

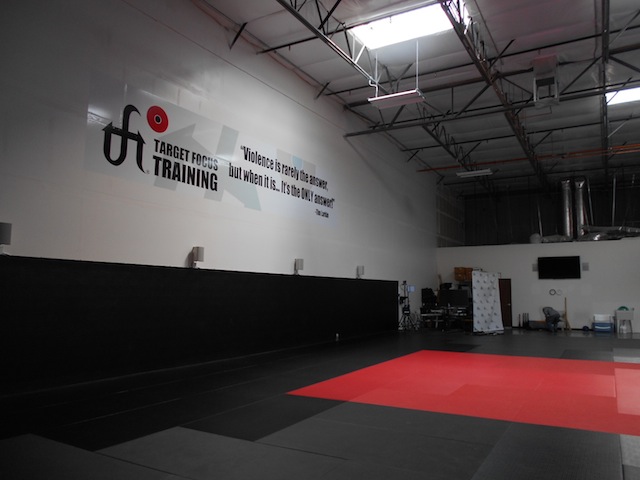
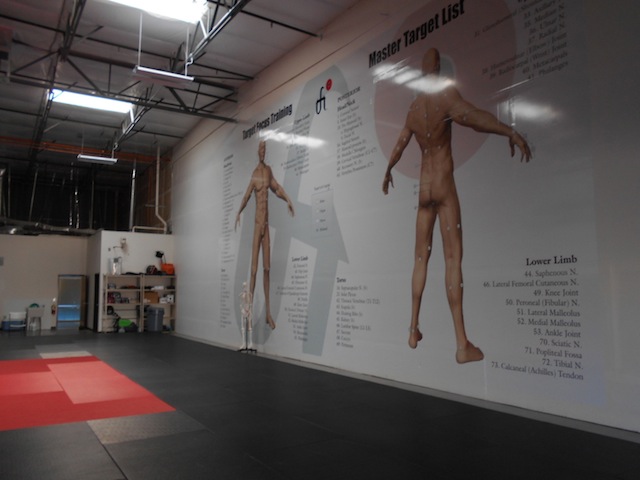
tft-1

Target Focus Training isn’t self-defense training, it’s target-attack training.

“Violence is rarely the answer but when it is, it’s the ONLY answer.”
Target Focus Training Sourcebook by Tim Larkin

While our children are in the household, we have the power to protect them from violence. But as our children grow and leave home we loose the power to protect. Therefore, it is our responsibly as parents to make sure our young adults are taught how to protect themselves before they leave the household.

I started looking for a self-defense training program for my daughters after a recent reminder of how dangerous this world can be for young women. I was looking for a no nonsense program that didn’t take years to master and could be learned quickly and forgotten until needed. I wanted a program that didn’t require size, strength or speed. I was also looking for a program that understood the true nature of violence and taught the participant when to use lethal force, if the unthinkable happens. I found all of this and much more with Target Focus Training.

TFT isn’t self-defense training, it’s target-attack training. “You do what you train.”

  1. TFT explains the difference between social aggression and asocial violence. “Social aggression is: avoidable, survivable and can be solved using social skills? Asocial violence is: lethal, unaffected by social skills and requires decisive action.” This training is only useful when a person realizes they are dealing with a sadistic bastard that’s going to maim, rape or kill. In that case, “injury him now.” This training would NEVER be used to solve social aggression issues.
  2. The techniques used by TFT are based on “spinal reflexes” which are predictable actions from a strike. It doesn’t matter that the person is “bigger, stronger, meaner and armed”, the spinal reflex will cause a predictable response, every time.
  3. TFT teaches over 200 points on the human body that can be struck with devastating effect. At the same time, you don’t need to know all the points to be effective. It doesn’t matter if you are small, weak or slow. Even a child can do many of these moves. Learning just a few target points will make a person very effective in a survival situation… But you have to have the will to destroy the target.
  4. TFT teaches that in a survival situation: “You do what you train.” This means, even having years of martial arts training might not be enough during a true survival situation because you will play fair and follow the rules. With Target Focus Training you will know when to get in there and “injury him now”.

Hopefully, my daughters will never need to use this training, but if they do, they will know what to do. If you are interested in Target Focus Training, they have video training programs and live training. I highly recommend the program. Stay safe.

tft-2

Target Focus Training will acquaint you with over 200 Achilles’ heels on the human body.

For more information please see the Emergency Preparation Series.

Nutty Meatloaf

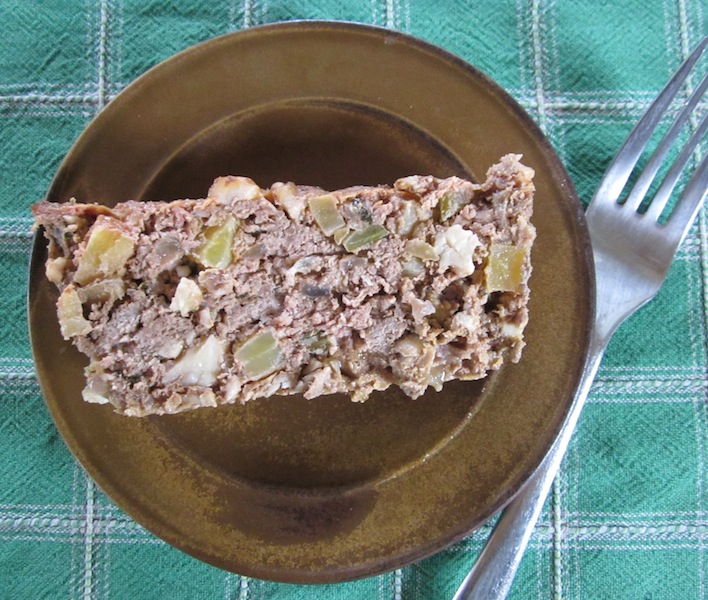
meatloaf

Meatloaf is an excellent lunch or travel food and is very nice by itself or served with raw cheese. Bring meatloaf to your next picnic!

This recipe is based on Spicy Meat Loaf from Nourishing Traditions by Sally Fallon-Morell.

This recipe is safe for someone on the Specific Carbohydrate Diet or GAPS.

2 pounds pastured ground beef
1 large organic onion, chopped
1 stalk organic celery, chopped
1 large organic carrot or yellow beet, chopped
1/4c butter or lard
1 organic bird’s eye pepper, crushed
1tsp organic thyme
1tsp organic peppercorn, freshly ground
1tsp sea salt
1c organic walnuts, chopped
2-3 pastured whole eggs
Grease a glass bread pan with butter or lard. Preheat the oven to 325F. Saute the chopped onions, celery, carrots and spices in butter or lard. In a large bowl mix the raw ground beef with the sauted vegetables. Add the walnuts and eggs one at a time. Mix very well and form the mixture into a log shape before placing into the bread pan. Press the mixture down firmly. Cook for 45-60 minutes. Let cool before slicing. Serve warm or cold with cheese or homemade spicy ketchup.

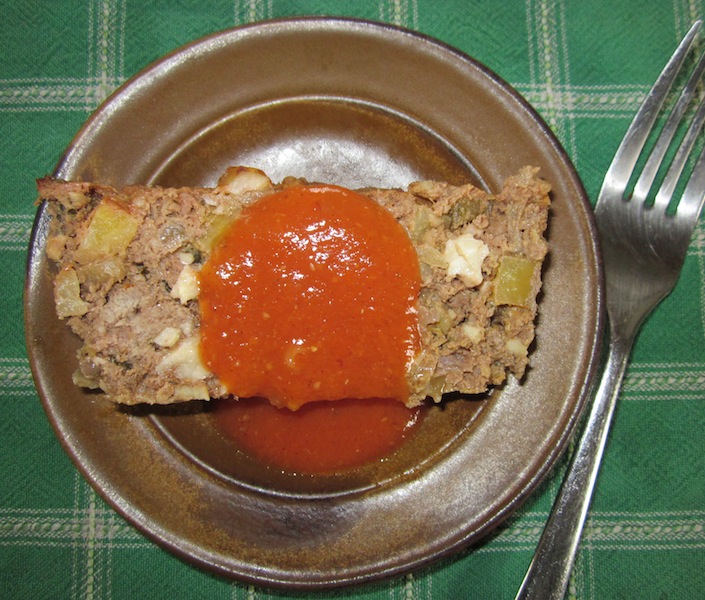
ketchup-meatloaf

Meatloaf can be dressed up with some homemade spicy ketchup.

Car Camping, Special Diets and Nourishing Traditional Foods

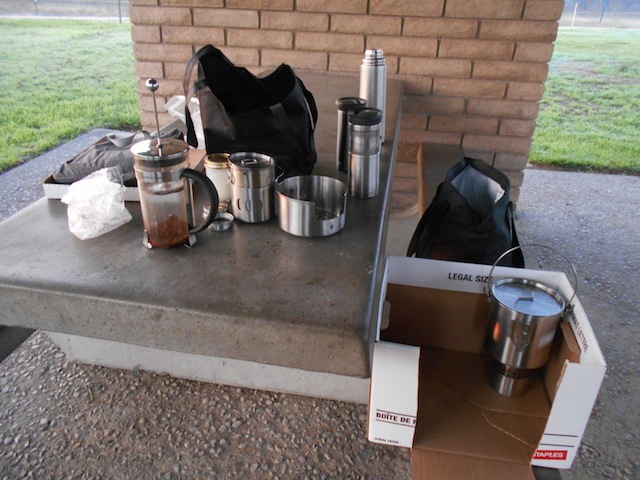
car-camping-1

Making hot drinks and breakfast at a rest stop in the United States.

Recently, I did a 5000km (3000 mile) road trip in the United States. Travel for someone on a restrictive diet can be difficult. I would like to share some of my strategies for finding and preparing food on the road. Even if you don’t have a special diet, these tips may help save money on food while traveling.

  1. Be aware of restricted foods before crossing any borders. I found a list of food items for the border police is very helpful and speeds up the process. Also, have a list of items with prices to declare for the trip back.
  2. Bring water for your trip. I bring a minimum of 2.5 gallons per person. I refill the containers along the way and always have a full supply of water. I also carry two stainless steel water bottles for easy use and refill them daily.
  3. Bring supplies from home. Bringing food from home helps keep one’s diet as close to normal as possible. This avoids stress from changes in diet that may result in illness. Typical supplies are: olive oil, apple cider vinegar, honey, coconut oil, creamed coconut, barley miso, chocolate bits, cocoa nibs, macha, coffee and tea. I also brought homemade salad dressing, homemade beef jerky, homemade nut granola, homemade coconut creamer and homemade mushroom broth.
  4. Bring a cooler with ready-made food that’s easy to eat. My ready-made food lasted for the first three days of the trip. My ready-made food included: bean salad, meatloaf, kimchi, butter, cheese and cream. Bring food that everyone enjoys.
  5. Have some way to heat water. Have enough kitchen equipment to cook on the road. Fill thermoses and travel mugs with coffee, tea and hot water in the morning for use throughout the day.
  6. Use new technology to find local, organic food. Finding food along the way can be tough but with new technology it’s getting much easier. Smart phones can search out organic food stores and other local food producers in whatever area you are visiting. If you don’t use a smart phone finding places to provision before you leave home is a must.
car-camping-1a

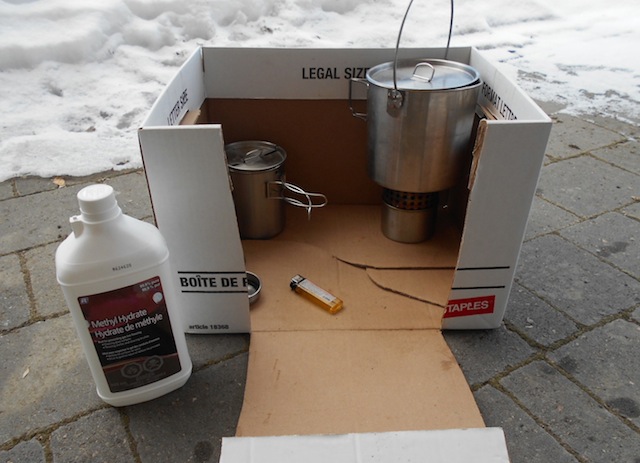
Here’s my water heating system. I use a simple alcohol stove fueled by methyl hydrate. The front of the cooking box can be closed up to stop the wind from blowing out the stove.

Over the years I have used many different types of stoves and camping kitchen equipment. Right now I’m using a small alcohol stove fueled with 99.9% methyl hydrate. You can find methyl hydrate at the paint or hardware store. I carry two stainless steel pots. One small pot and one larger pot that can boil 1.5L of water. A French press is good for making coffee. Stainless steel thermoses and insulated travel mugs are a great way to keep coffee, tea and hot water warm all day.

Recently, I have started cooking in a cardboard box. This may seem like a strange idea but the box is good for storing all the cooking gear in one place, and acts like a wind shield, making cooking faster while conserving fuel. When the box gets dirty it can be discarded. Just cut one side of the box with a box-cutter and fold up that side when cooking to reduce air flow. Of course, while cooking always watch the box so it doesn’t catch on fire!

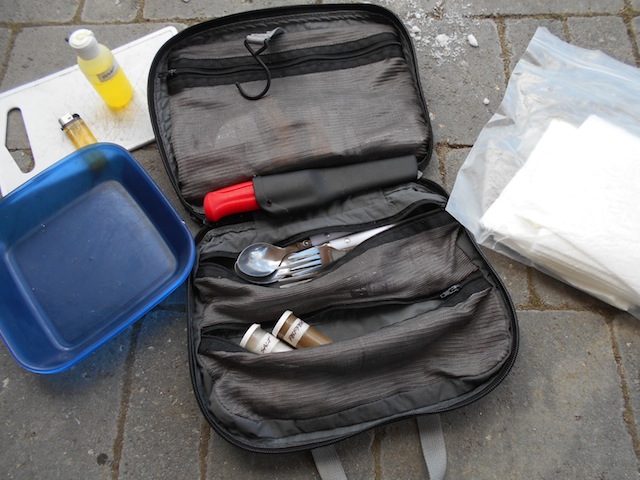
Camping kitchen kits are great too. You can make your own or buy a ready made one. I bought a ready made one years ago and over time customized it. My customized kitchen kit has a cutting board, box-cutter, sheathed knife, 2-4 spoons, 2-4 forks, spice and condiment bottles, a lighter, scrubby pad and small bottle of dish soap for clean-up. I carry 2-4 bowl-shaped plates for cutting-on and eating which also fit inside the kitchen kit. I carry a supply of paper towels in a zip-lock bag for eating and wiping-off eating equipment for those times when there’s no water for washing-up. I’ve started carrying some small bars of soap and shampoo packages like the kind you would get staying at a hotel.

car-camping-1b

Here’s my customized, camping kitchen kit. It has everything I need to prepare simple meals. As you can see, the equipment sees heavy use. I really like having a sheathed knife to avoid damage to the kit. Bowl-shaped plates are great for liquids and can be used as a cutting board.

Here are some ideas for quick, simple snacks and meals while traveling:

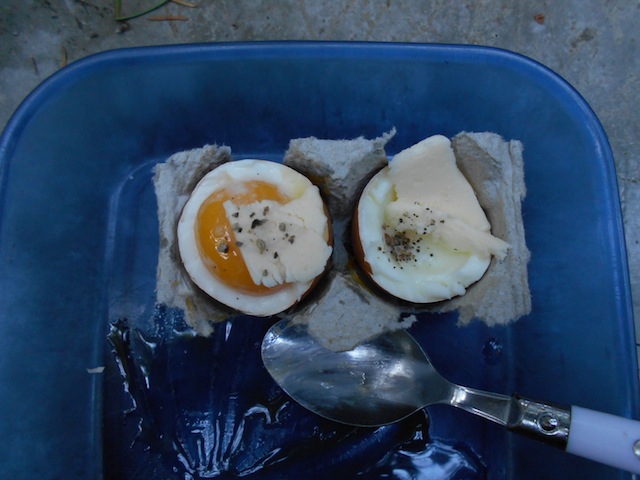
  1. Soft-boil 2-3 eggs per person and serve with lots of butter, sea salt and pepper. It takes about 2 minutes to soft-boil eggs.
  2. Homemade nut granola with chopped fresh, local fruit served with yogurt.
  3. When there isn’t time to cook, add some butter, coconut oil or homemade coconut creamer in coffee or mushroom broth for a quick, filling hot drink.
  4. Eat a handful of whole nuts. On this trip, the local pistachios were fantastic.
  5. Eat a small amount of beef jerky.
  6. Eat cooked meats, chicken or fish using a lettuce leaf as a wrap. Add some fresh avocado slices for an extra filling meal.
  7. If you’re on the road and really desperate, Sally Fallon-Morell recommends eating pork rings with only added salt. I’ve found this advice has worked well for me even though I’m very sensitive to food additives.

For more information about my typical traveling rations please see: Emergency Preparation: Some Thoughts About Water and Food Security.

If you are looking for light-weight, calorie dense rations for travel please see: Emergency Preparation: Fasting or Ketogenic Rations.

eggs-butter

A favorite breakfast on the road is soft boiled eggs topped with butter, sea salt and pepper. We re-purposed old egg cartons into one use egg cups.