Bees on the Roof

bees-at-tru

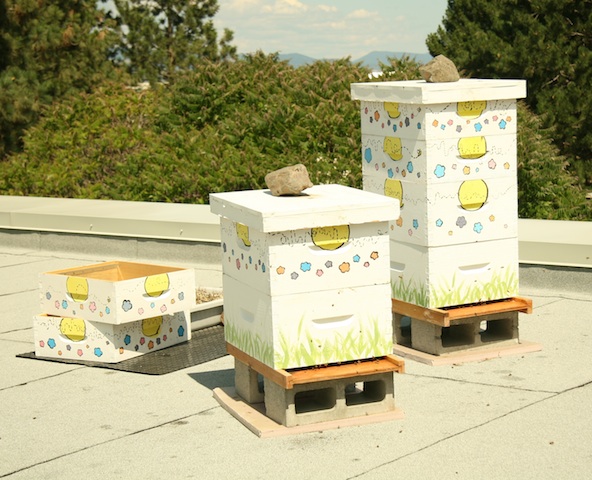
Chef instructor Ron Rosnetreter has found a new passion in the past couple of years — his bees on the roof. This fundraising dinner will be in support of the on-going longevity of his bees. The dress code will be semi formal and you are encouraged to dress in black and yellow.

GUEST POST by David Masurat

I wanted to let you know about a fundraising dinner that Culinary Arts, in collaboration with local beekeepers, is putting on for March 1, 2013. We are doing this to raise funds for the upkeep of the Bees at Thompson Rivers University and hopefully some bursaries. The menu will be highlighting the use of honey in the dishes and also using local foods. It sounds fabulous! The ticket price will be $50.00 and you will receive a four course meal. If you can join us we?d love to have you. The website for ordering tickets is:
Bees on The Roof Fundraiser.

Here is the Menu:

Walnut and Honey Soup

Sablefish Glazed with Honey and Soy
Textures of heirloom carrots

Dominion Creek Ranch Lamb
Cooked three ways and served with honey and mustard scented jus

Pre-Dessert
Earl grey and TRU honey sorbet with hazelnut cr?me fraiche

The Land of Milk and Honey
Rice pudding scented with local honey and milk with spelt mousse

David Masurat is President of the Kamloops Beekeepers. “Kamloops Beekeepers have many years of experience in all aspects of honey production. They share this knowledge through meetings on the 3rd Wednesday of every second month at 7:00pm at Thompson Rivers University and at field days throughout the year.”

Aveley Heritage Sheep Ranch: My Family’s Story

aveley-ranch-6

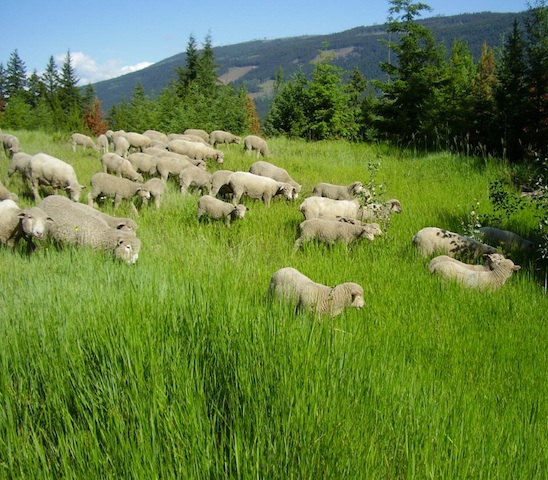
Here are the sheep feasting on the fast growing spring grass at Aveley Ranch. Aveley Ranch is located in a peaceful natural setting, where hard work produces abundance from the land.

aveley-ranch-4

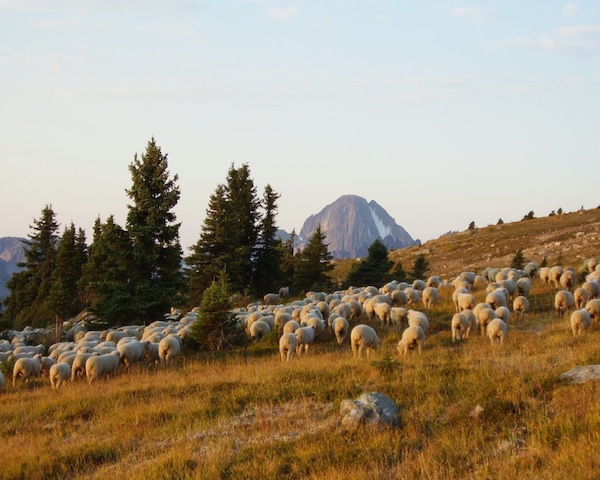
September in the alpine meadows of the North Thompson Valley.

GUEST POST by Valerie Moilliet/Gerber

Aveley Ranch was established in 1906 when our Grandfather homesteaded and remains in the Moilliet Family to this day. Situated in the upper North Thompson Valley, approximately 150km north of Kamloops, Tam Moilliet discovered the area while on a survey crew at the turn of the century. Carving out a home in the wilderness he was ready for his bride when she arrived from England. Mary braved blizzards and canoeing the North Thompson River to birth and raise her family.?On the premature death of her husband, her 16 year old son John — our Father — managed to keep the ranch going.? The Moilliet Family has always worked together, teaching skills to the younger generation, while respecting the wisdom of the older generation.

Keeping with family tradition, Grandfather?s 3rd & 4th generation continues to shepherd and nurture the flock through the seasonal cycles. Starting with a small flock of sheep in 1913, over the years our Father slowly increased the flock to about 1000 head. His son Ian, increased the flock to about 1300 head. Sheep is what we do on Aveley Ranch!

When the BSE Crisis hit in 2003, we decreased the flock size to about 500 head. In an effort to continue doing what we love — and with lamb prices so low — our family experimented with Agri-Tourism in 2005. Since we were already a destination for visitors at lambing season each spring, we began with tours of the lambing area. We included all the extra things that happen on a farm such as: hay rides, collecting eggs, and boat races on the creek. Of course, the biggest attraction is simply cuddling orphan lambs! The Solitude Heritage Cabin B&B is situated in the hub of the lambing area and is a great place to stay while on the ranch.

aveley-ranch-1

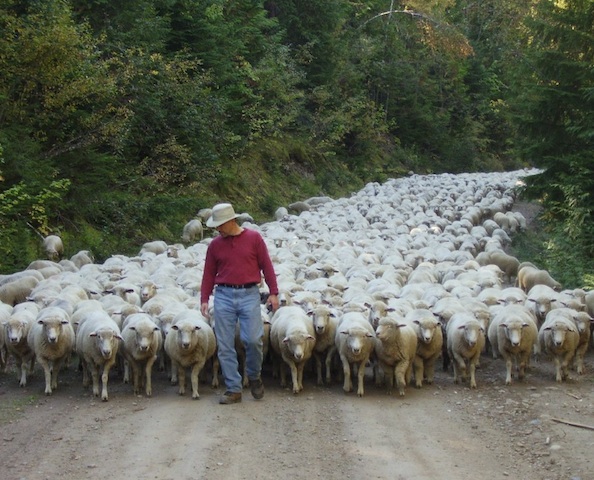
Moving the flock to fresh pasture.

aveley-ranch-2

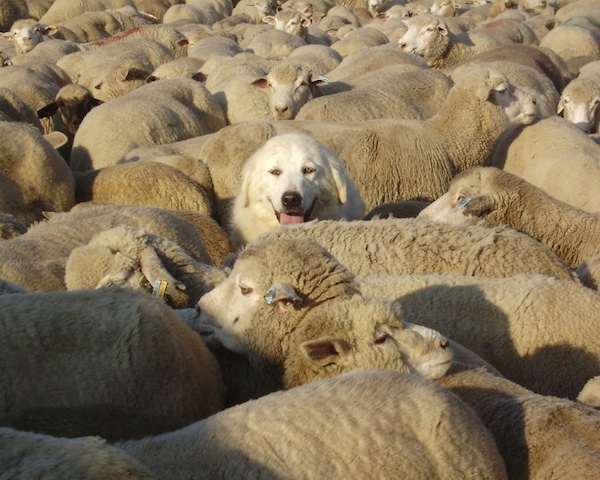
Eight Maremma/Akbash Guardian Dogs protect the sheep from predators.

Traditionally, our sheep are a range flock. The flock grazes the high alpine meadows in the summer and domestic pastureland in the valley in the spring and autumn. The flock is fed hay produced from our own pastures during the winter months.?This adds up to succulent lamb, available each fall, fresh off the range, naturally raised. As a knowledgeable consumer you will know that Omega 3 fat is an essential fat that we require from the foods we eat. Scientific research has discovered that grass fed red meat is a valuable source of Omega 3 fat. Conjugated linoleic acid is also found in abundance in grass fed meat and dairy products. Grass fed lamb is a good choice for lamb connoisseurs concerned about naturally grown foods. If you are concerned about potentially consuming antibiotics or hormone residues, you will love our lamb!

aveley-ranch-7

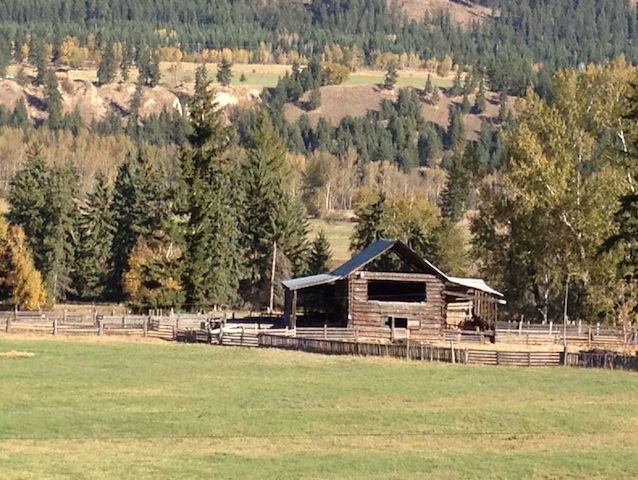
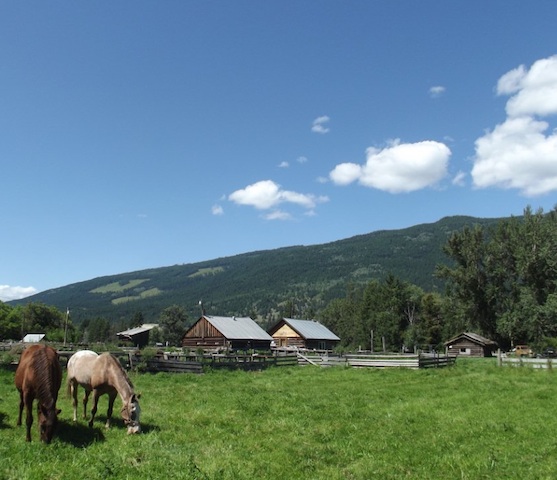
Here are some of the heritage buildings found on Aveley Ranch.

heritage-bb

Here are some of the other heritage buildings on the ranch. The Heritage B&B is the middle building.

heritage-bb-2

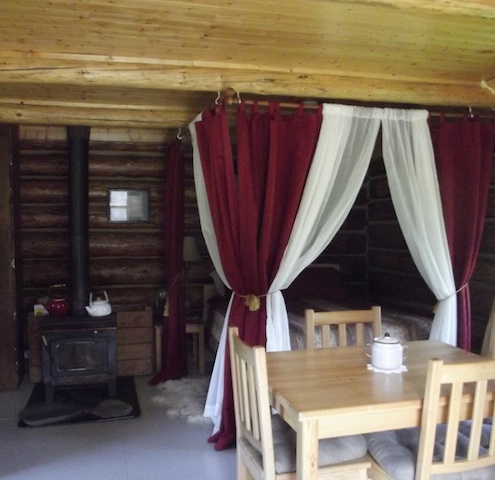
This is the inside of Heritage B&B.

If you are looking for wool, our Corriedale Sheep have soft, bright wool that is easy to work with. The wool is not so itchy as some of the coarser breeds, making the wool delightful to wear next to the skin. We have raw and processed wool available for sale on the ranch including: 2 strand yarn in skeins, 2 and 6 strand wool cakes, quilt batts, lopi yarn, and roving.

We would love to show you a little piece of the North Thompson Valley that is tucked away between the side of the mountain and our lovely river.?Lambing season begins on April 1st and carries on through the month. This is the best way to discover Aveley Ranch and see sheep up-close and personal! I hope to see you in the spring!

aveley-ranch-3

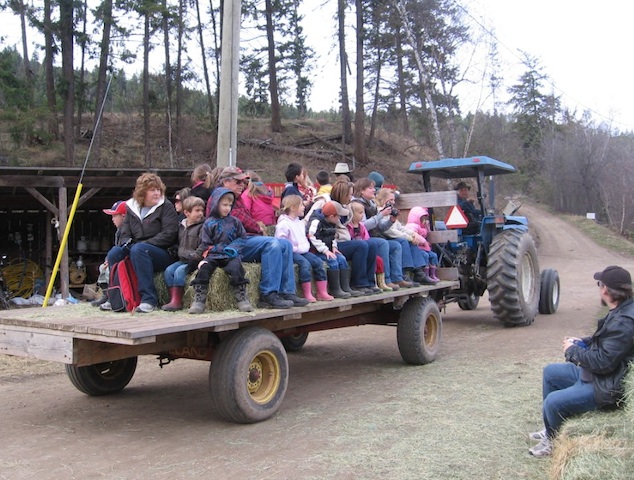
Come visit the ranch and bring the whole family for a hay ride.

aveley-ranch-5

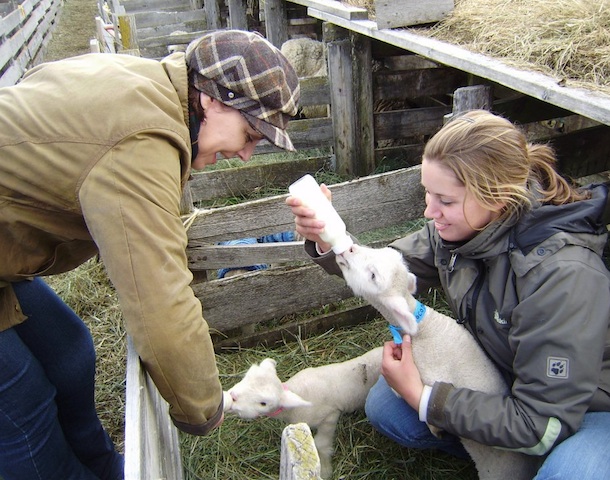
Come feed the orphan lambs in the spring and enjoy the fresh mountain air.

Aveley Heritage Sheep Ranch
Ian and Karen Moilliet, Joseph and Cadence Moilliet, and Valerie Moilliet/Gerber
2721 Birch Island, Lost Creek Rd, Vavenby, BC, V0E 3A0
T: 250.676.9574: Ian and Karen
T: 250.676.9234: Valerie
E: ian(a)smartsheep.ca: Ian and Karen
E: stump_pasture42(a)xplornet.com: Valeria
www.aveleyranch.com
149 km
grass-fed and alpine finished lamb, B&B, ranch tours, teashop, museum, hayrides, history tours, children?s activities

aveley-ranch-8

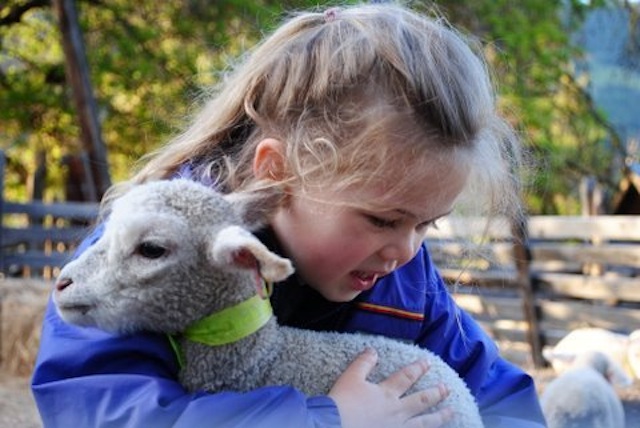
Children love holding the lambs and experiencing ranch life.

Sprouted Buckwheat Granola

buckwheat-granola-raisins-1

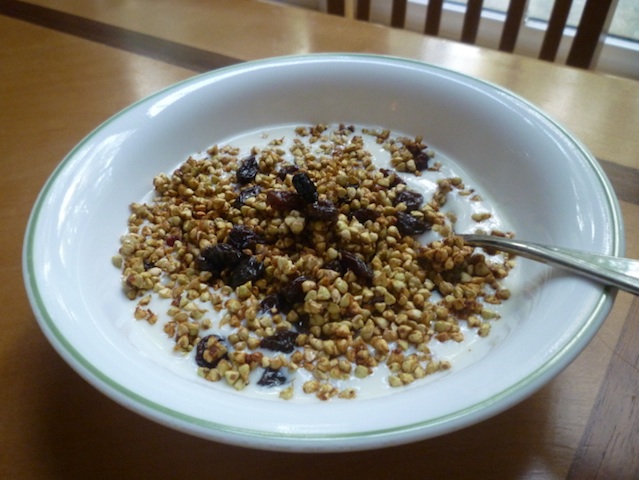
Sprouted Buckwheat Granola is a wonderful breakfast with raisins? and raw milk or yoghurt. It can be eaten as trail mix.

GUEST POST by Celeste Skousen

This recipe is NOT safe for someone on the Specific Carbohydrate Diet.

Walking through the aisles of a local health food store not long ago, I spotted a simple, gluten-free granola mix selling for a typically high price. It was a raw, sprouted buckwheat granola, with only four ingredients: sprouted buckwheat, dates, raisins, and flax seeds. I bought a package, biting the cost bullet once, with the intent of figuring out how to make it myself. Turns out it’s surprisingly easy.

4 cups raw organic buckwheat
2 cups organic dates, pitted
filtered water
organic raisins (optional)
soak-buckwheat-2

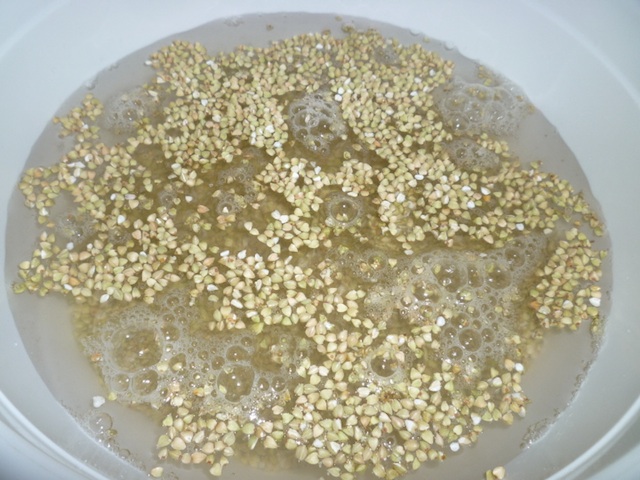
Pour buckwheat into a large bowl and cover with plenty of water. Allow to soak overnight. The next day, rinse and strain several times until water runs clear.

To start out, all you need is raw buckwheat and water for soaking. Make sure the buckwheat has not been roasted because it will not sprout. Pour the buckwheat into a big bowl and cover with plenty of water. Let the buckwheat sit overnight to soak, anywhere from 8-24 hours is fine.
jar-sprout-3

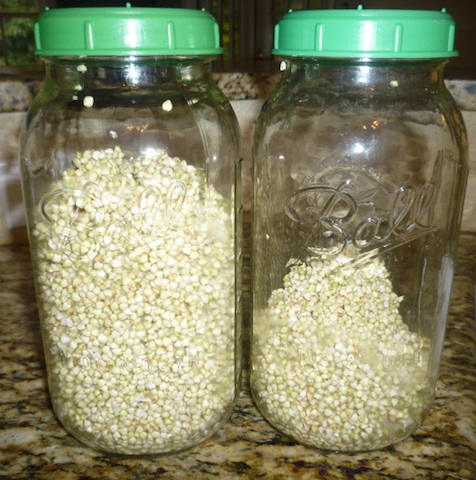
Transfer soaked and rinsed buckwheat to jars for sprouting. Allow 24 hours for the buckwheat to sprout. Rinse two or three times during sprouting.

When you’re ready, drain the buckwheat. Now, here’s an interesting note about buckwheat. When submerged in water, the seeds release some sort of starch that causes the water to become thick and very viscous. You can feel it when you swish your hand in the water. It’s important to rinse this starchiness away really well. If you have a large mesh strainer, you can dump the buckwheat into that and rinse with your faucet sprayer. Or you can do what I do: drain, dump the buckwheat back in the bowl, refill with water, swish around, drain again. Repeat three or four times until the water runs clear.

I’ve read websites that caution against soaking buckwheat for too long before sprouting, claiming the buckwheat will never sprout. Mine sprouted just fine. I think the rinsing has something to do with it. I prefer to allow the buckwheat to soak for a good long time, hopefully to help minimize anti-nutrients. I do think the rinsing process also helps to minimize some of the strong taste that buckwheat typically has. My buckwheat ends up light in taste and very palatable.

So on to the sprouting. Dump the buckwheat into your sprouting container. I use half-gallon mason jars with plastic sprouting lids on top. You can get these lids sometimes in the canning section of a grocery store, or order online. Alternatively, you can do the panty hose held in place by a metal ring trick. You just need a way for the jar to drain. Set the jars upside down at an angle, in a large bowl.

It usually takes about a day for the sprouts to emerge. It’s best if you rinse the buckwheat two or three times during that time. Again, you’ll want to dump them out into a big bowl, fill with water, swish and drain, and perhaps repeat once or twice. Don’t try rinsing them by simply filling the jar with water and draining. I’ve tried that; it doesn’t work well. The buckwheat still makes the water too viscous to drain properly.
spread-dehydrate-4

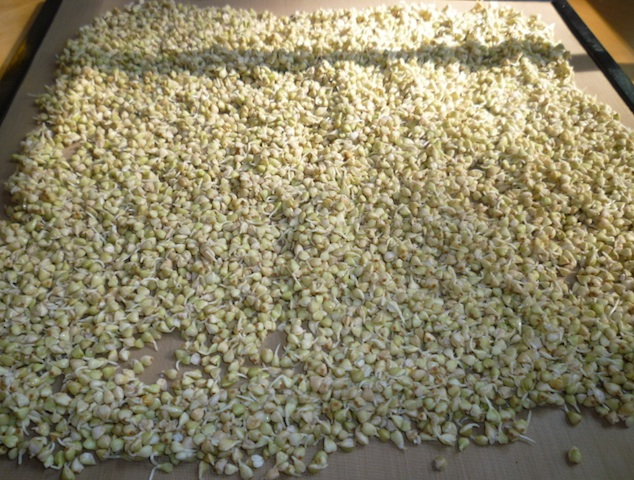
Spread on dehydrator sheet or cookie sheet; dehydrate until fully dry and crisp. Here's a picture of how mine look spread out on the dehydrator sheet.

You can dehydrate them in an oven at the lowest possible heat, perhaps with the door cocked open if it’s 170F or higher, or in a dehydrator. I set mine at around 135F, and leave them for about 12 hours. They should be light and a bit crispy when they’re done.

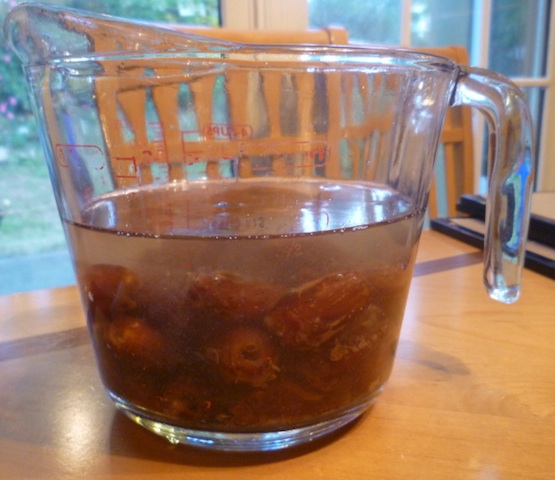
Making the date paste is very easy. Pitt and clean the dates. Put the dates into a bowl and cover with water. Let them soak for at least 10 minutes; it makes them much easier to process. The last time I made this recipe, life happened and I didn’t get to process my dates right away. I stuck them in the fridge, where they ended up staying overnight. Wow, were they easy to process the next day! So that is an option ? you can perhaps start your dates soaking at the same time you start your buckwheat drying. It’s up to you.
soak-figs-water-5

Soak dates in enough water to cover for at least 10 minutes. Transfer dates to food processor and process til smooth, adding small amounts of water to achieve desired consistency.

Remove the dates from the bowl, but reserve the soaking water. Put the dates in a food processor and add some of the soaking water. Process the dates until smooth. Slowly, add a bit of water to get a smooth consistency. You want it to be a bit on the thick side, but not too thick, so it stirs well into the buckwheat. If you end up a bit on the thin side, don’t worry; it’s just water, and will evaporate in the next step.
stir-bake-6

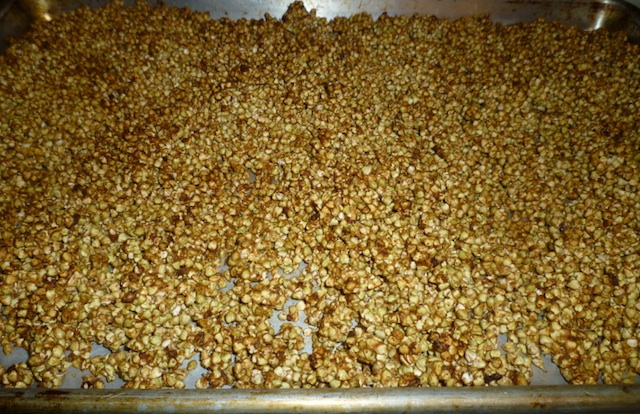
Spread on cookie sheet and bake at 325F for 20-30 minutes, stirring every 10 minutes, until lightly brown. Allow to cool, then store.

Finally, add your date paste to your buckwheat in a large bowl, and stir well to combine. Spread out on a cookie sheet and set in the oven at 325F. I set my timer in 10 minute increments, stirring each time. It generally takes about 30 minutes to get to the toastiness I like. Remove from the oven, stir once more to make sure it doesn’t stick to the cookie sheet too much, and allow to cool. Mix with raisins or other fun stuff if you’d like, before storing it. Keeps great on the shelf.

Serve with yogurt, fruit, raisins or eat as a trail mix. Enjoy!

Celeste Skousen is the Weston A Price Foundation Chapter leader for North Fulton County, Georgia, US.
Urban Chickens: Part I

GUEST POST by Maureen Lefebvre

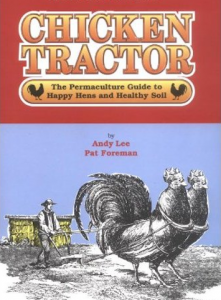
chicken-tractor-book

A permaculture guide to healthy hens, eggs and soil.

We left our beloved Pritchard homestead under less than ideal circumstances. Fifteen acres, river front, cows, chickens, hayfields, barn and shop. We had it all. The story of that parting is best told in person over a cup of hot tea.

We had made the decision to move into town, but my line in the sand was drawn. I WOULD have my chickens. And so began the search for the ideal house with the ideal bit of town property suitable for a backyard chicken coop. Internet searches and phone calls to city hall revealed that indeed, you needed to have at least one acre to have chickens. Deeper reading of past city council discussions brought up comments indicating that if neighbors didn?t pose a problem, bylaw officers wouldn?t come pounding on your door demanding to confiscate your birds. In any case, the house we ended up with is in rural Barnhartvale, on not quite one acre, with neighbors who are used to horses and dogs, bears and deer. A few chickens wouldn?t upset the ecological balance.

The problem now became what to house these birds in. Our previous property came with a father-in-law who was quite the handyman. He built a sturdy chicken coop and pen that served us well for years. However, he wasn?t making the move with us. So we began the three part journey to chicken ownership satisfaction ? a journey that hasn?t quite ended four years after we started.

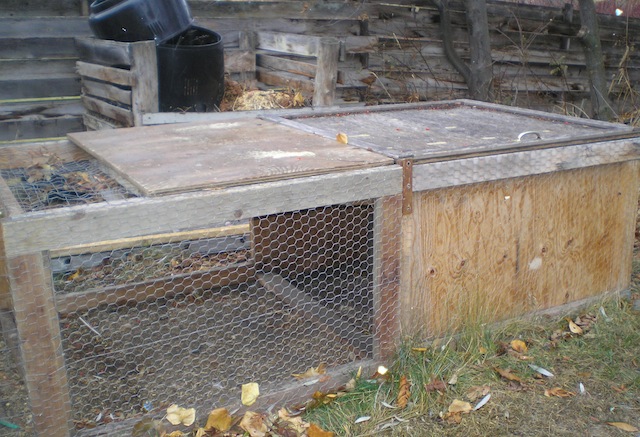
My handy teenage son was recruited to build our first chicken home. We home school and this satisfied his love for carpentry, especially when he could be outside pounding nails instead of inside writing. Based on the concept by Andy Lee a chicken tractor was soon in the conceptual stage. After much discussion and pages of graph paper designing, we soon had a rectangular, floor-less box moving its way across our back yard. This box was 8 feet by 4 feet by 30 inches. One half was an open pen. The other half was closed in with an attached nest box and a roost. The water and food containers sat on the ground. Both halves had lift-able lids with handles. The lid of the open pen was chicken wire.

By moving the pen to fresh grass every few days this size was plenty for the three chickens that we acquired from a Vernon farmer. I chose to keep the flock to three so as to perhaps be a prototype for an urban chicken raising example should I ever take part in political action.

So there we were happily enjoying our fresh eggs every day. But winter was coming. How would we handle cold and snow?

chicken-tractor

The chicken box is not exactly as we originally built it. In the meantime we?ve gone on to something else and this has been adapted for a different use. But the basic idea can still be seen.

back-yard-eggs

The joy of an urban flock is happy hens, delicious eggs and healthy soil.