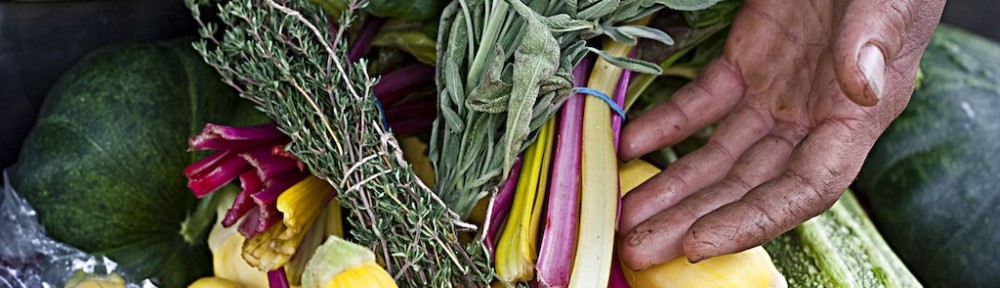
“Gingerroots are rich in yeasts and lactic acid bacteria, so ginger bugs usually get bubbly very quickly.”
The Art of Fermentation by Sandor Katz

Ginger Beer is nice with a slice of lemon or lime.
Traditional Ginger Beer takes three weeks to produce from start to finish. It’s easy to do but the process does take some patience.
Week 1: Making the Ginger Bug
1tsp white sugar, each day for 7 days
1tsp organic ginger, finely grated, each day for 7 days
1c filtered water
You can avoid this first week if you want to use water Kefir culture or lacto-fermentation but that wouldn’t be a traditional ginger beer. A traditional ginger beer starts with a ginger bug. To make a ginger bug you need to take 1tsp white sugar and 1tsp grated organic ginger and add it to the 1c water. Make sure the ginger is organic.
Everyday, for seven days, add 1tsp white sugar and 1tsp organic ginger. This feeds the ginger bug. After a few days you should start seeing bubbles. By the seventh day the ginger bug should be bubbling vigorously. If it’s not bubbling, your culture is dead. Throw the culture out and find another source of organic ginger. Sandor Katz says: “[M]any people have reported that their ginger bugs never get bubbly. My theory is that most of the ginger imported into the United States has undergone irradiation, thus destroying its bacteria and yeast.”
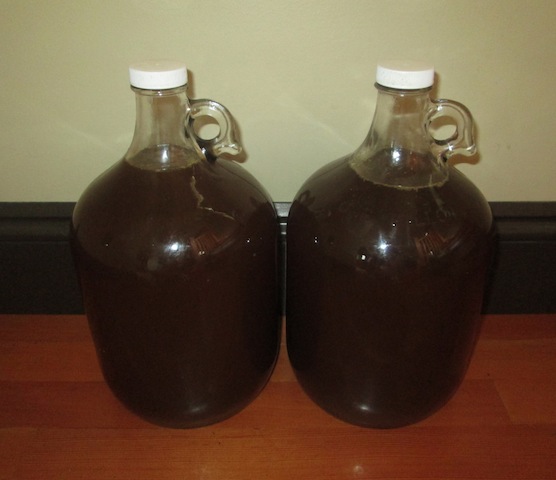
I reuse two gallon cider vinegar bottles for the primary fermentation of the ginger beer. Note how the ginger beer starts out with a very dark color.
Week 2: Ginger Decoction and Primary Fermentation
Ginger Decoction
1-2 large organic ginger roots, finely grated
2L filtered water
Simmer the grated ginger for 15 minutes. Let the decoction cool to room temperature overnight. Strain all the ginger out of the cooled decoction.
Primary Fermentation
3c organic Rapaura or dehydrated cane sugar
2L ginger decoction
1c ginger bug, remove the solids
6-7L filtered water
2, 1 gallon glass containers
The ginger decoction needs to be at room temperature or you will kill your ginger bug. Add the Rapaura to the ginger decoction. Make sure the sugar has dissolved completely into the solution. Strain the solids out of the ginger bug and add the liquid to ginger decoction. Pour an even amount into each of the two gallon containers. Add enough filtered water to fill each gallon container. Place in a warm area and wait seven days. During this time the ginger beer will do its primary fermentation.
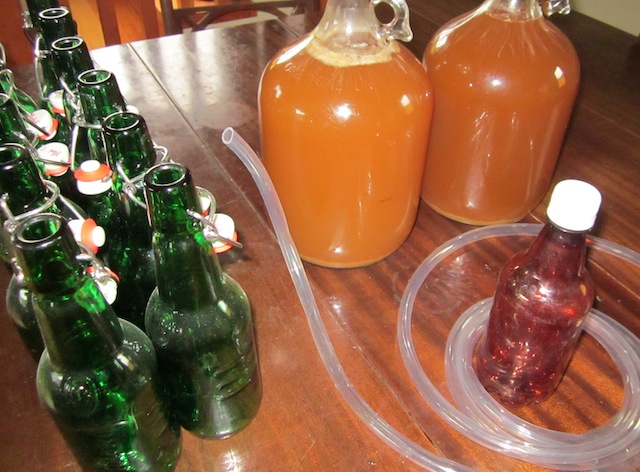
Bottling is a messy process. Siphon or carefully pour the ginger beer off the sediment on the bottom. Discard the sediment. The ginger beer is lighter in color after a week of fermentation.
Week 3: Bottling and Secondary Fermentation
14-15, 500mL glass bottles with flip-tops
1, 500mL plastic bottle
You can bottle in either plastic or glass. Plastic bottles take the pressure of carbonation better. When plastic bottles explode, their tops blow-off. It can be a mess but it’s really no big deal. I prefer to avoid the chemicals in plastic so I use glass bottles. Unfortunately, when glass bottles explode, there is glass everywhere. Using one plastic bottle to test the level of carbonation is one way to avoid using plastic while avoiding the downside of glass.
With live fermentation, safety requires having at least one plastic bottle to test the level of carbonation in the bottles. The time it takes to build up natural carbonation in the bottle will vary on the strength of the culture. One week would be normal. Check the firmness of the plastic bottle each day. As the carbonation increases, the plastic bottle will get hard. At this point the ginger beer should be refrigerated. Even in the fridge the culture will continue to carbonate and build pressure in the bottles so consume the ginger beer within a few weeks.

I don’t like to drink out of plastic, but using one plastic bottle to test the level of carbonation makes using glass bottles a safer option.